build your own cinderblock garden
Recently my two year-old began to get curious about the growth of plants; how flowers bloom, how seeds can turn into a full-fledged plant, and where we get vegetables and fruit. As somewhat of an Easter present I decided that I’d construct a small garden in our yard to satisfy her curiosity!
I looked all around Pinterest for ideas on designs and finally decided to draw one up myself. As dad always says, make sure you have a plan!
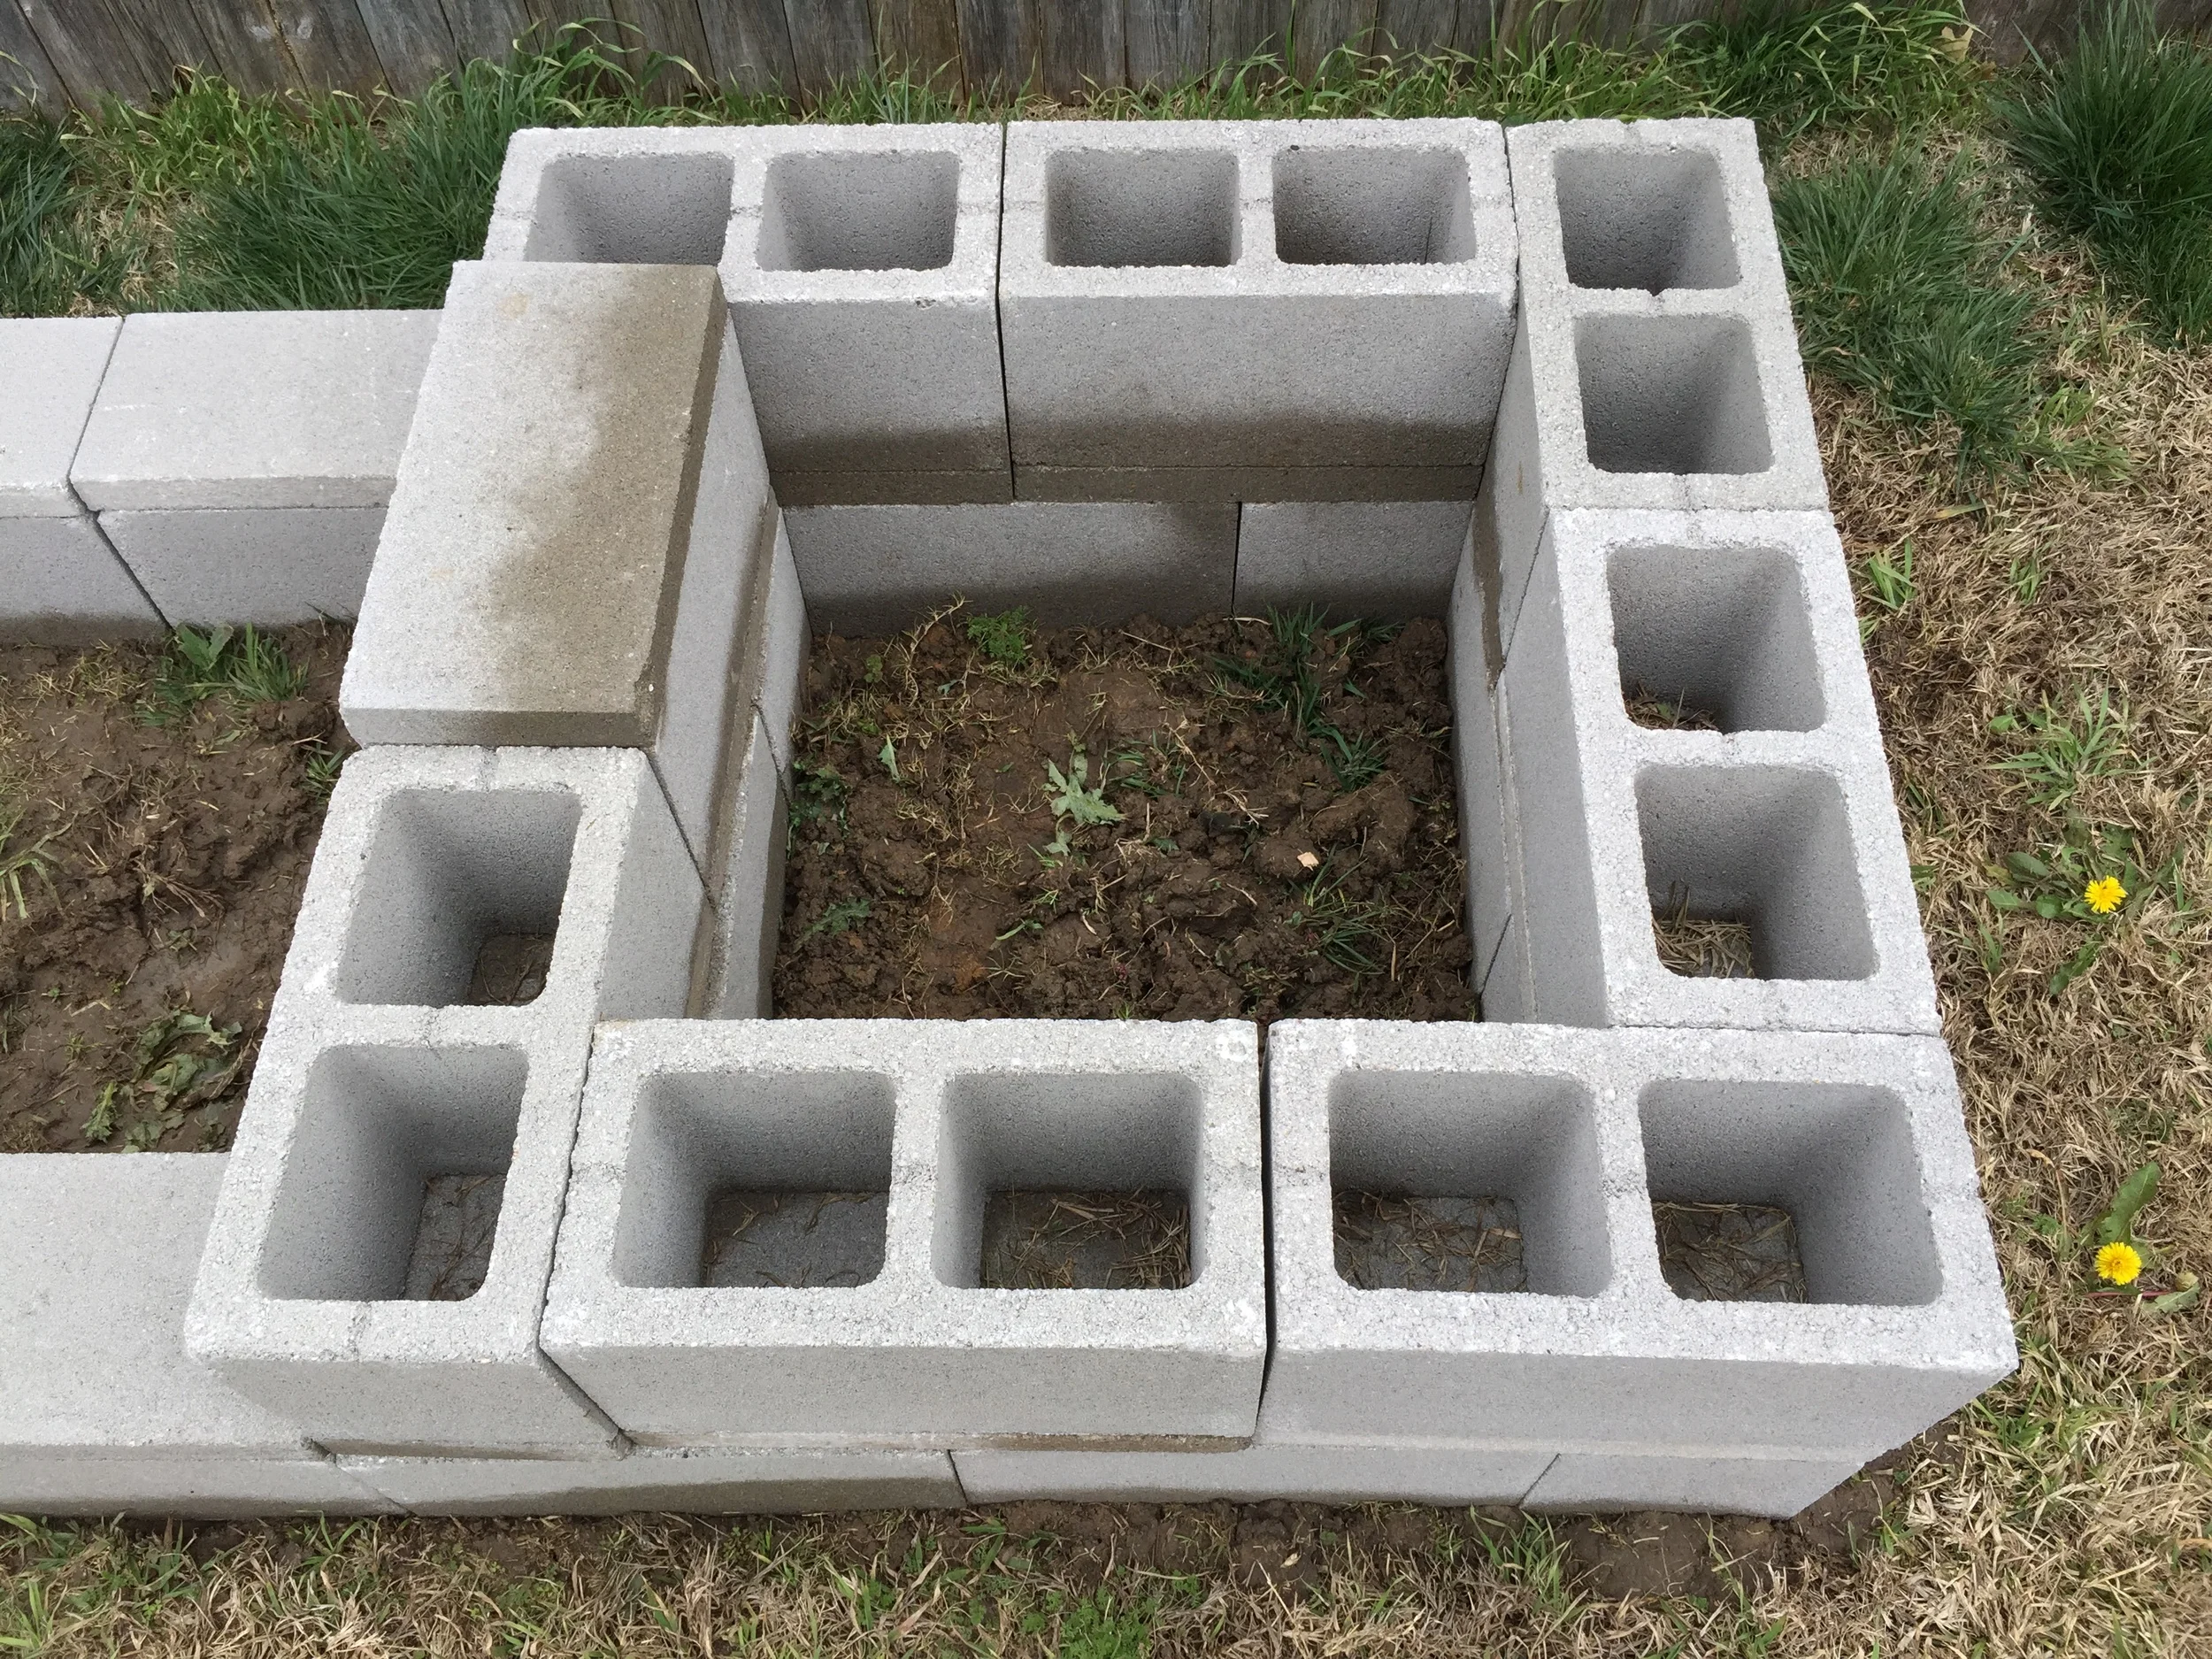
We decided to use cinderblocks for three reasons: they’re cheap, they’re made of concrete, and each one has 2 pockets that can be used for more plants! Cost is always a factor in our house, but the concrete was our safest option for organic gardening – if you use plastic or wood that has been treated with chemicals they might leech into your plants.
FYI - Cinderblocks are 8” Tall X 8” Deep X 16” Long.
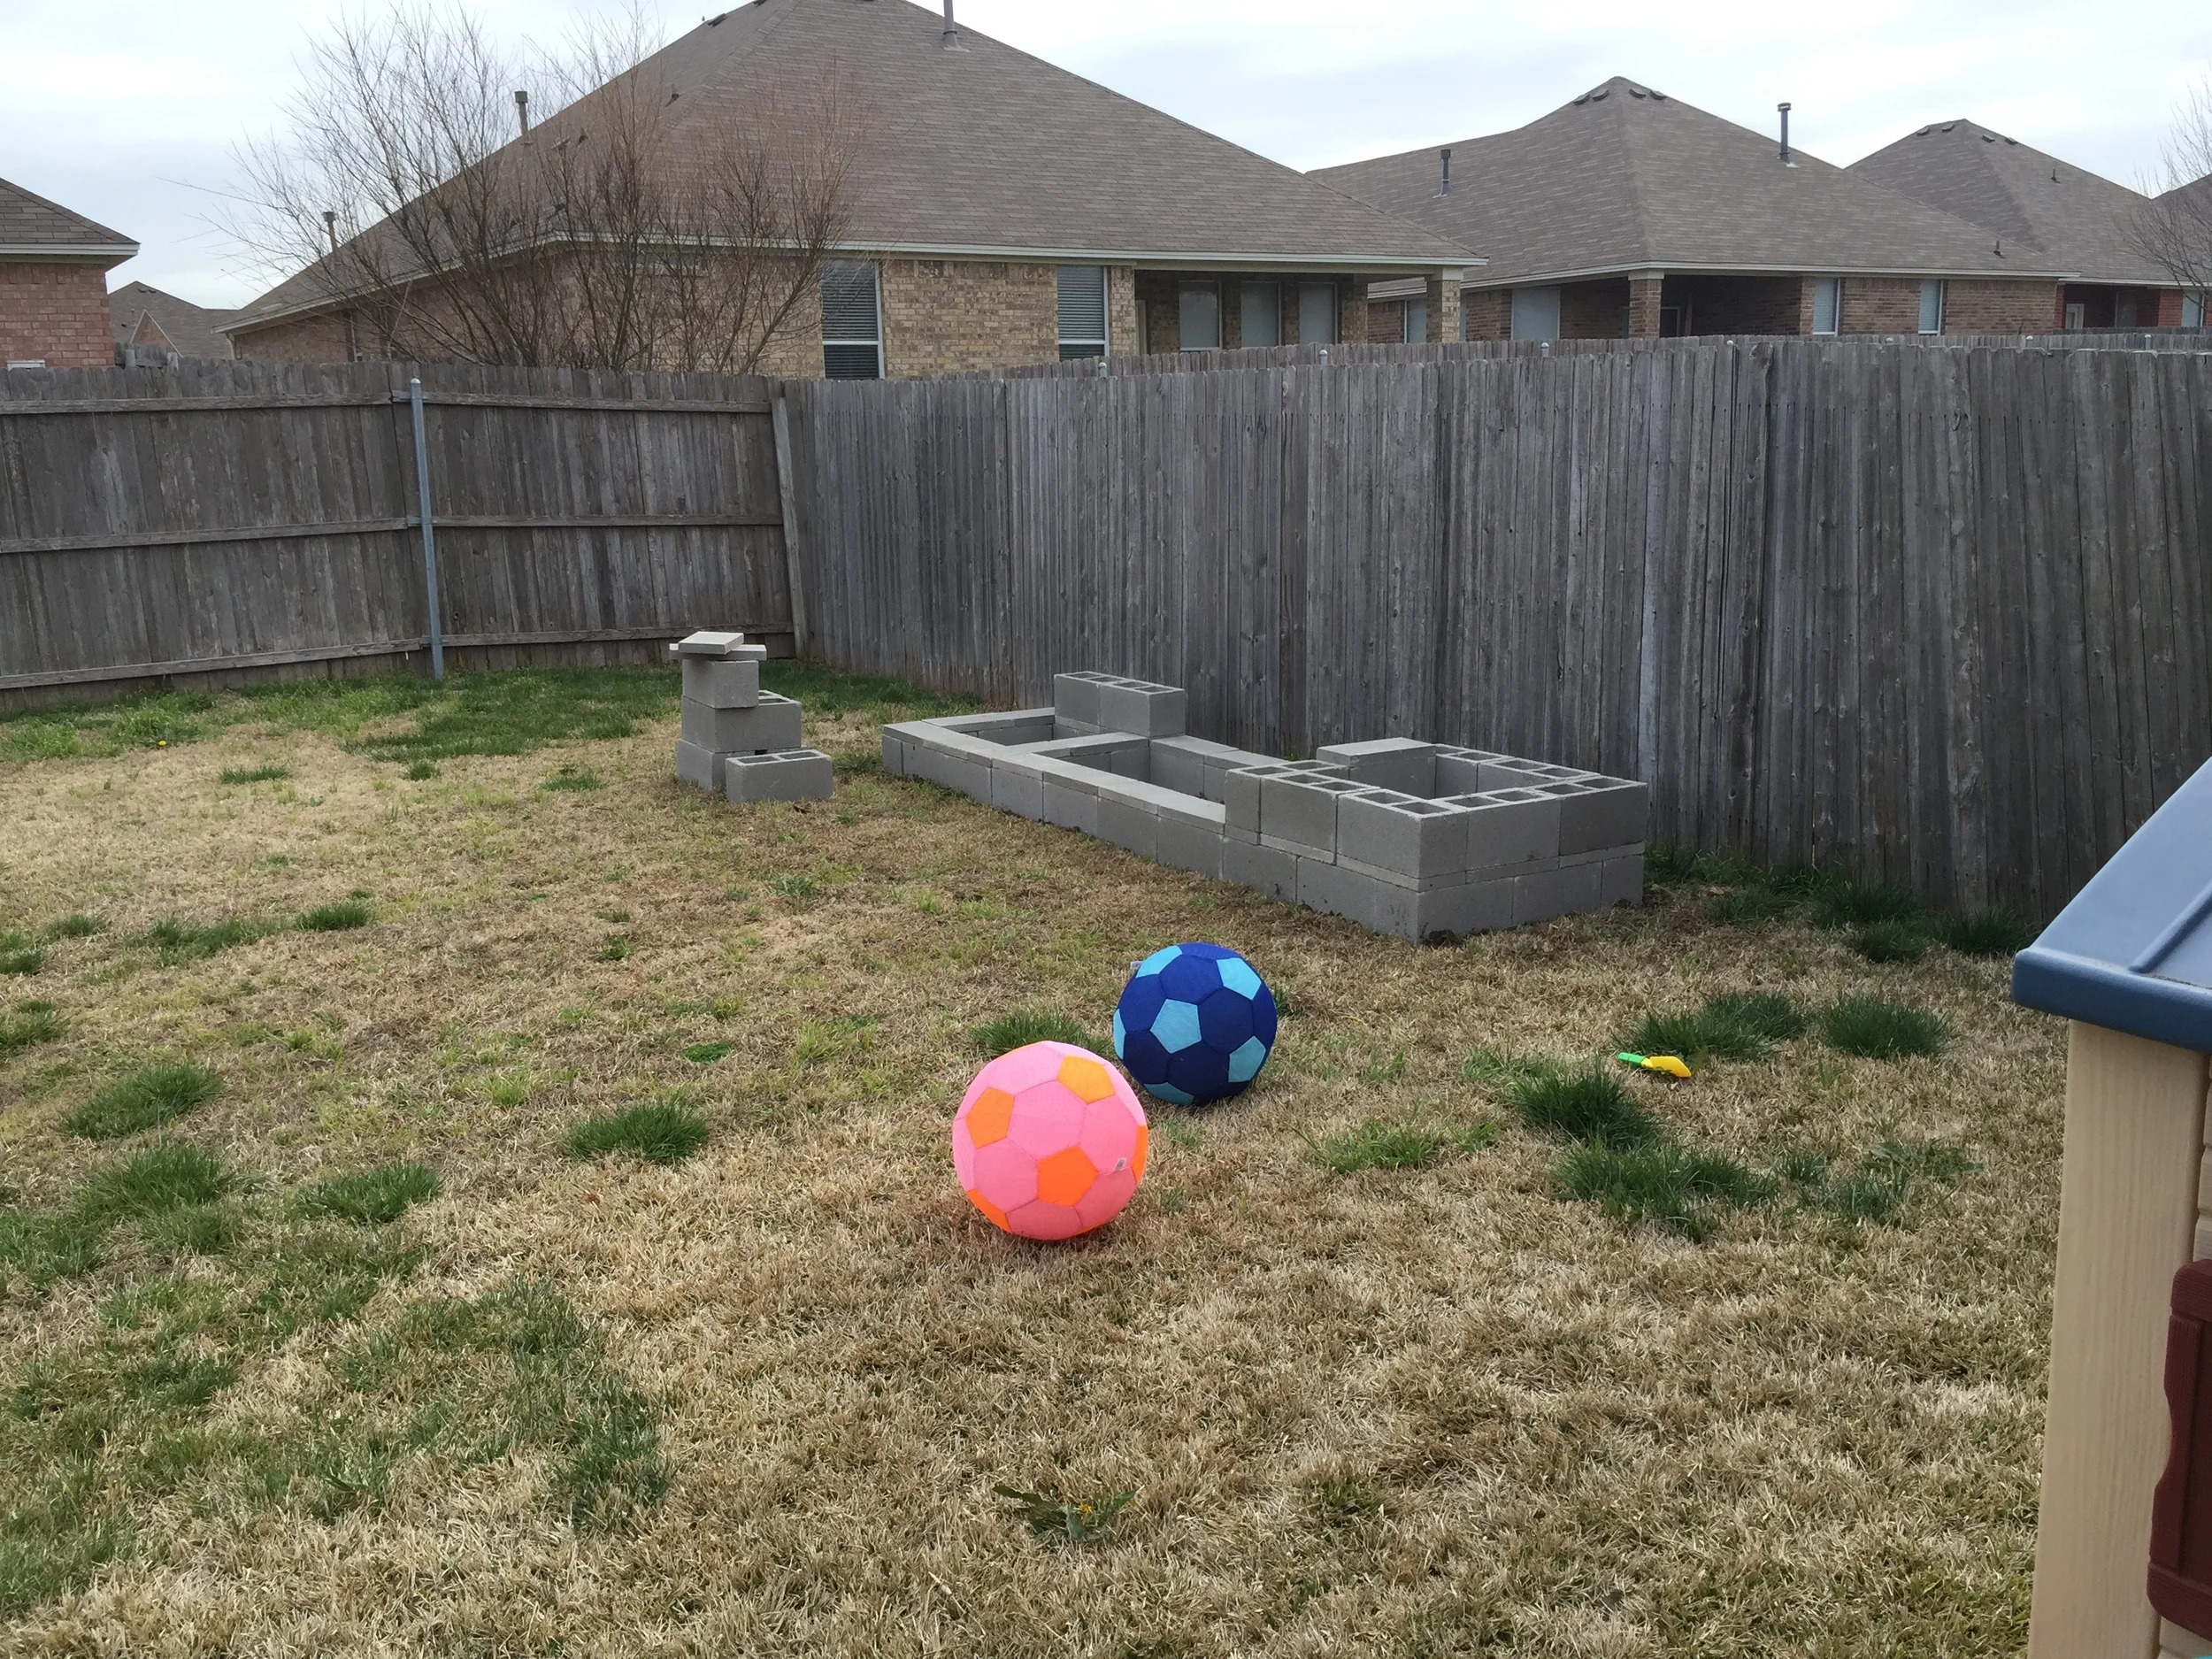
I plotted the dimensions in the yard - 12 feet X 3 feet 4 inches. After that I took out my weed eater and tore up the grass and ground as much as I could to make it as bare as possible. I also used a handheld tiller to break up the soil.
Next, I placed an order at The Home Depot’s website for 40 blocks and 27 cap stones for a total of $87.50. They grabbed all of the materials and placed them on a pallet for me to pick up (which I laughed at when I pulled up in my van…). We loaded everything individually – I could hear the van groan over the weight.
Tools that you’ll need:
- Garden trowel
- Wheelbarrow
- Rubber mallet (or hammer and scrap lumber)
- Level
Next, I started in one corner and began laying down blocks. Cinderblocks are heavy, so be sure to use a cart or wheelbarrow to transport them between vehicle and garden. Using a hammer and scrap piece of lumber I made sure that each piece was level. As I continued to add more blocks I also verified that they lined up perfectly with a yard stick. Take your time, as building the garden took me a few days.


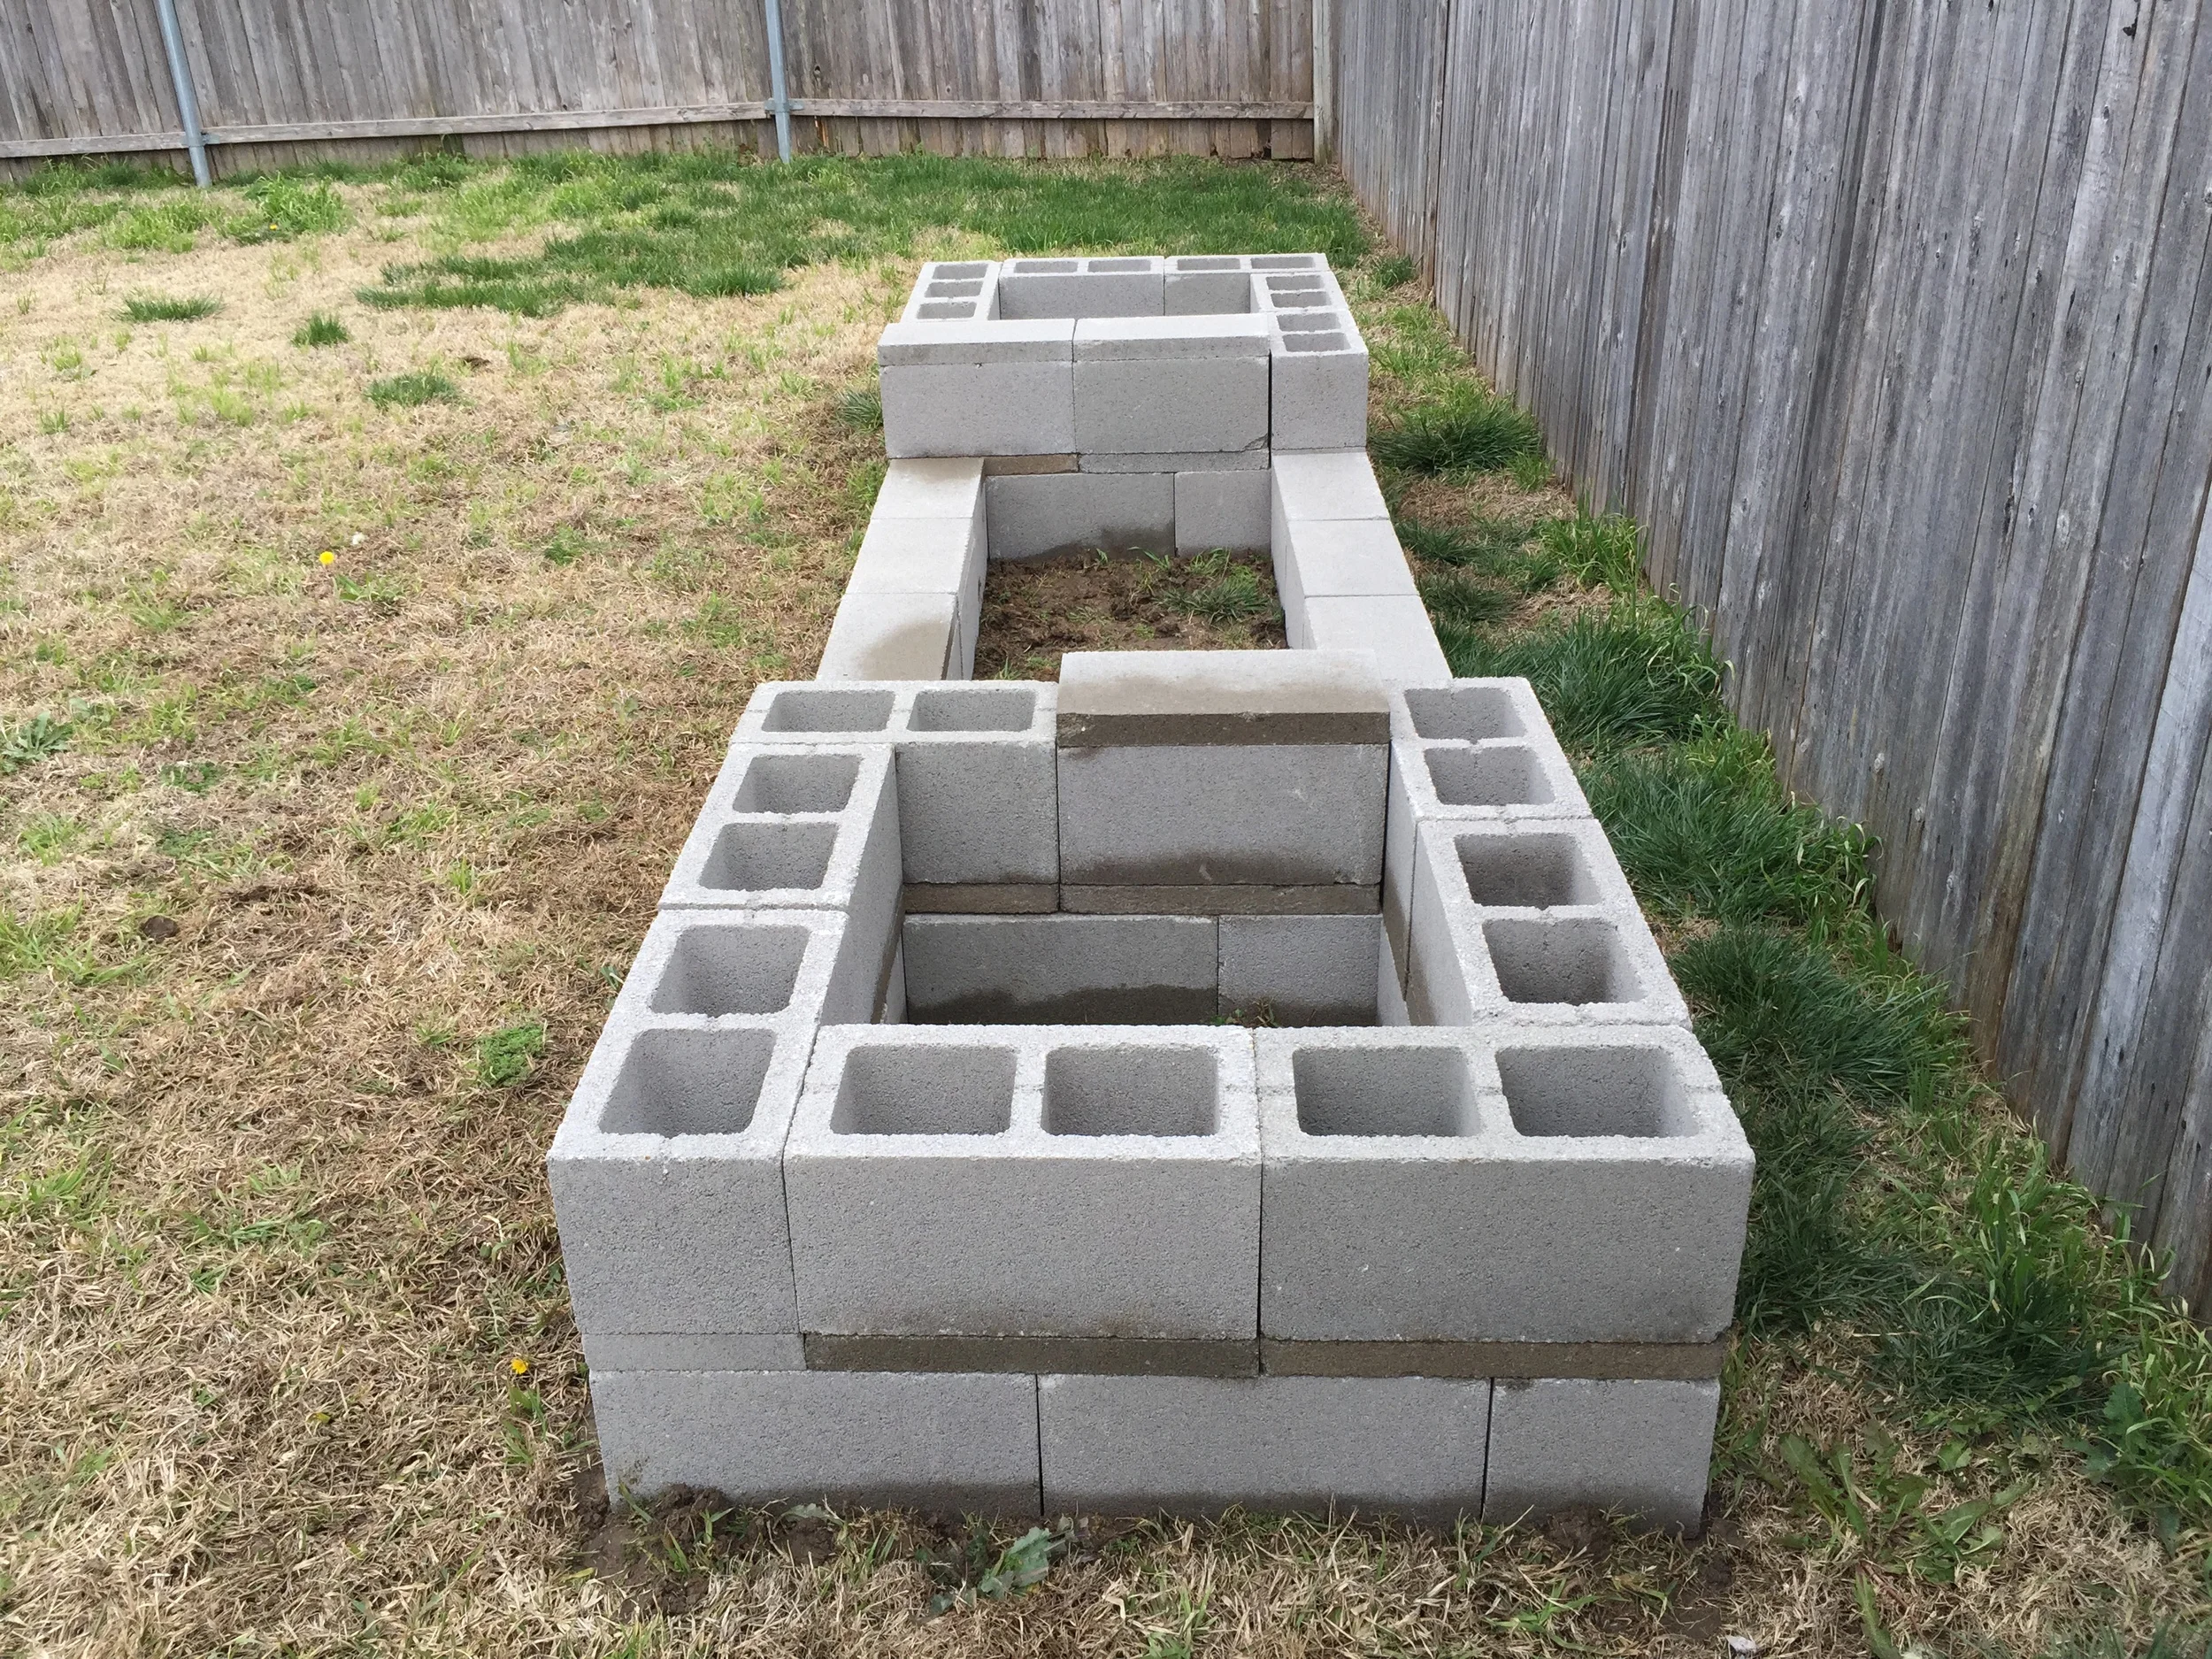
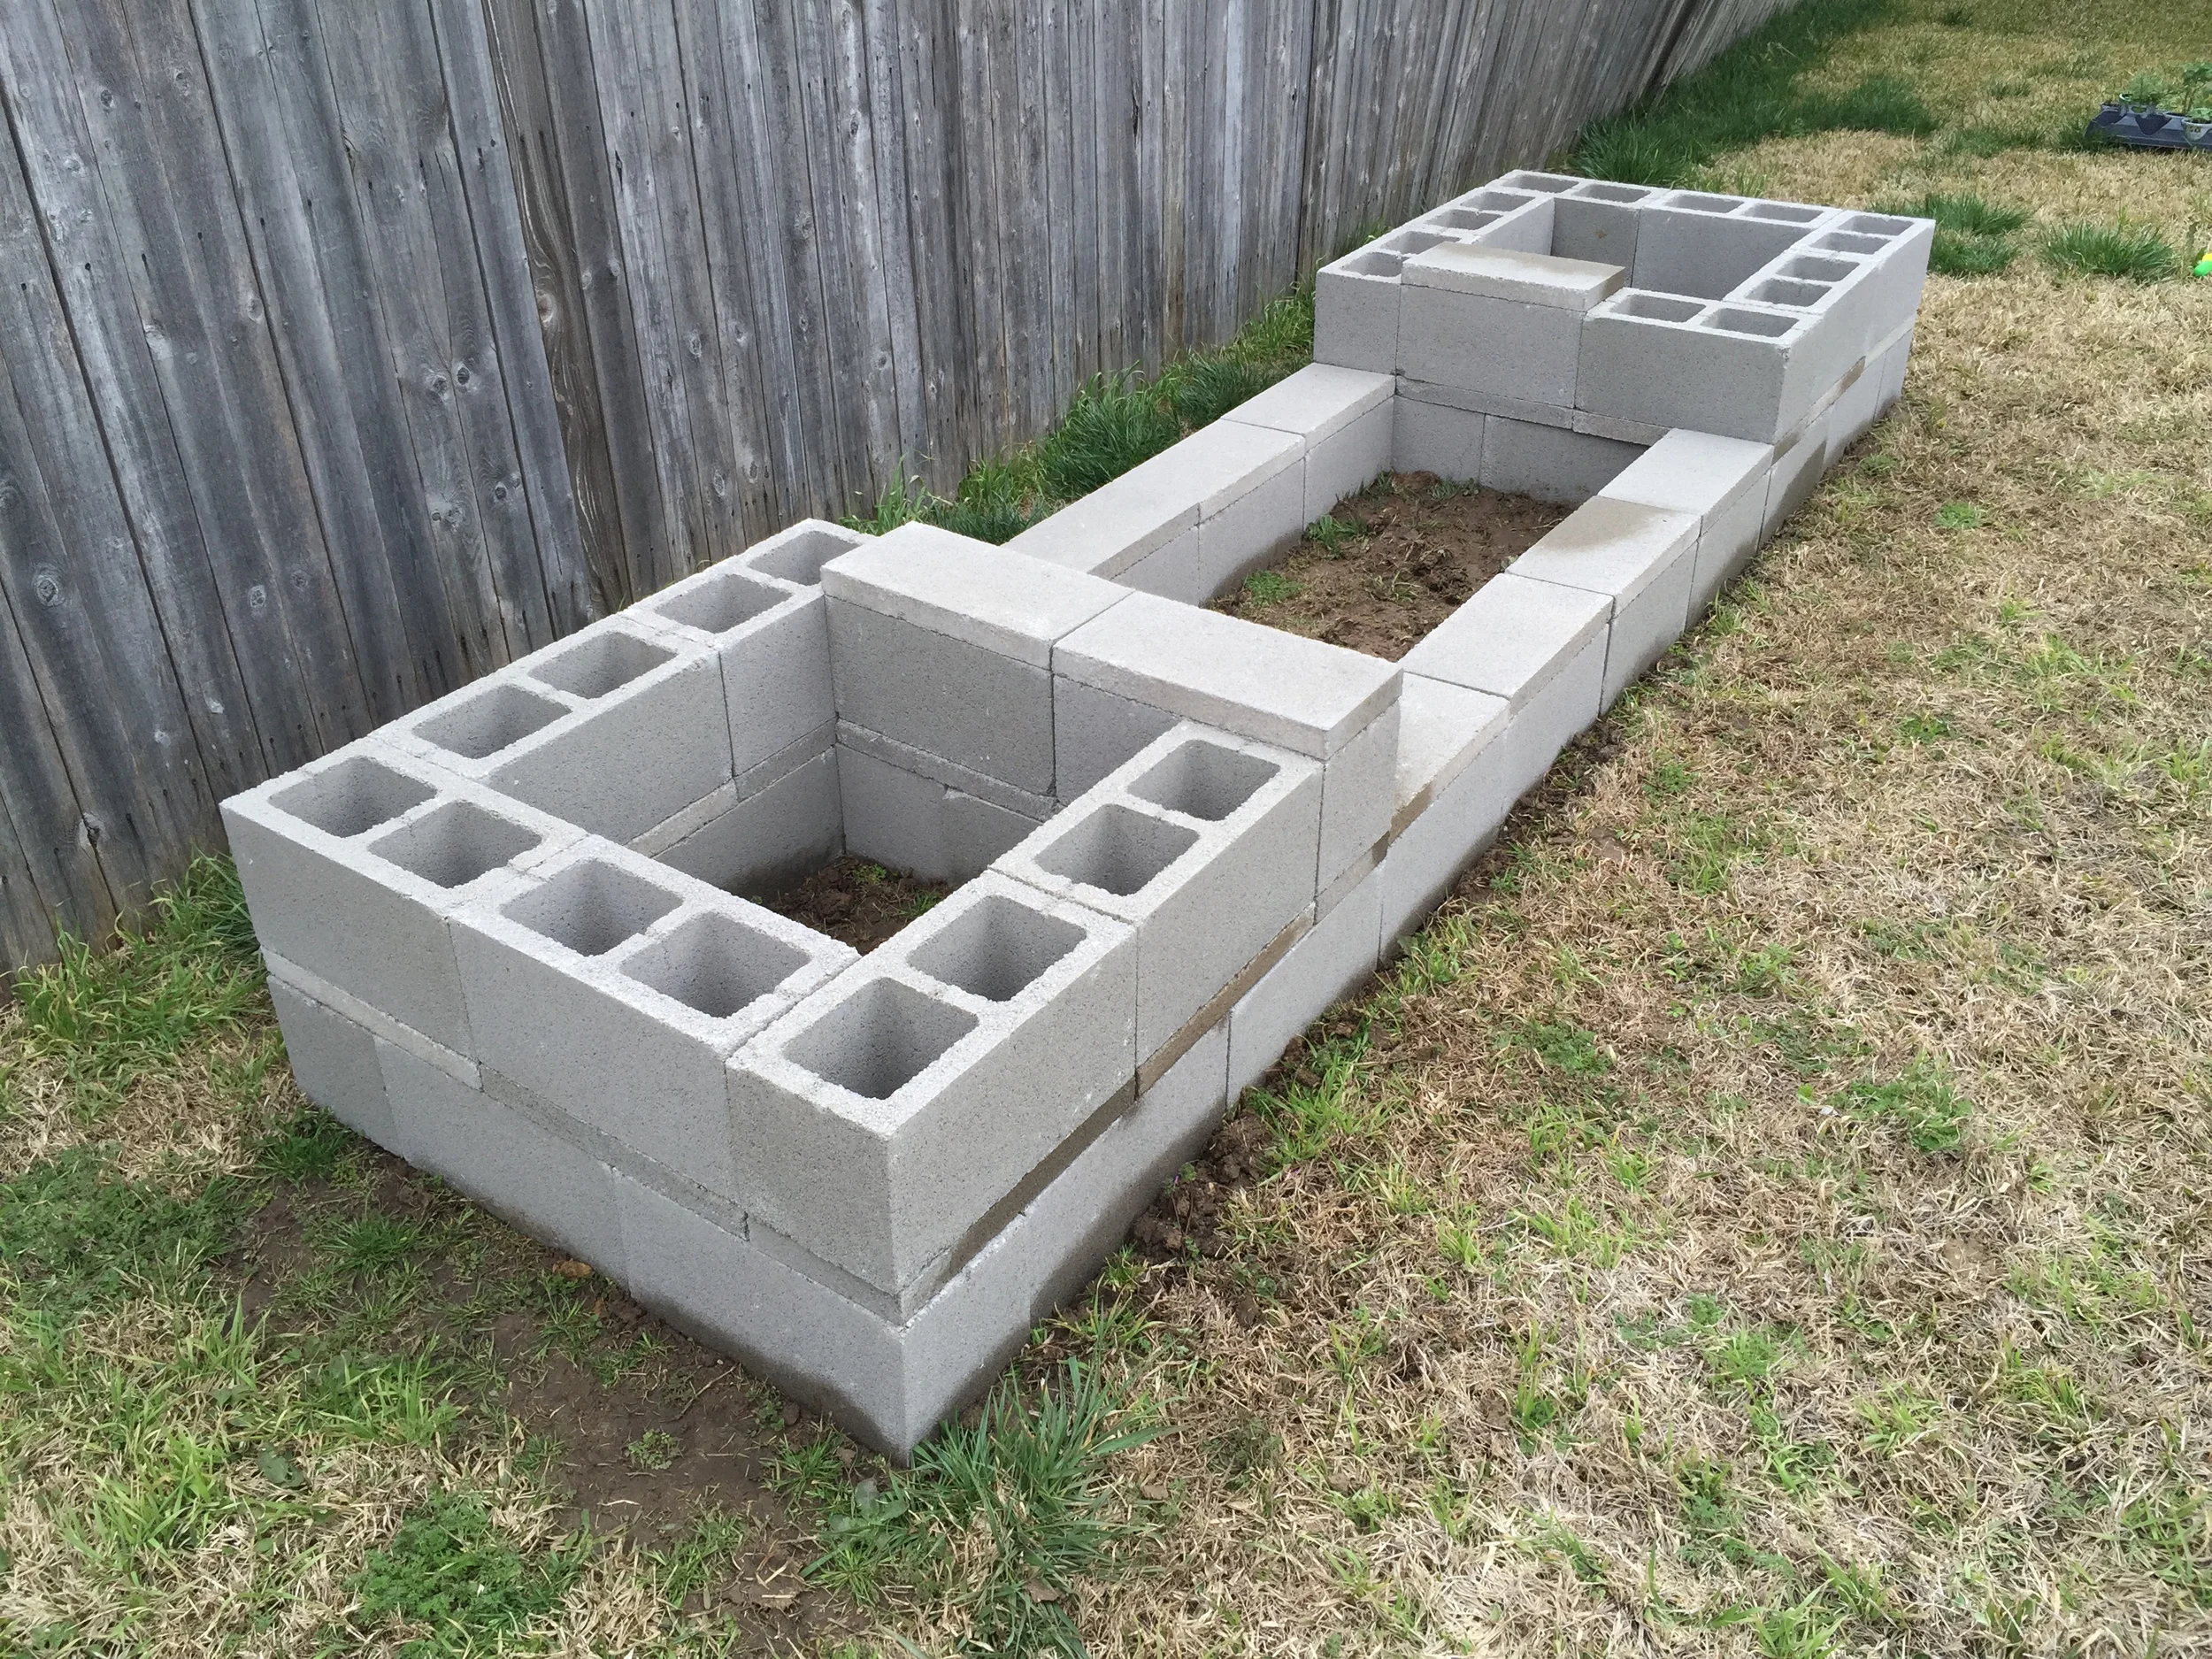
After you’re satisfied with the results, take some cardboard (plain, no dye or colors) and add it to the bottom of your masterpiece – this is going to help prevent unwanted weeds, but it will also eventually degrade so that worms and other beneficial creatures can help your garden grow.
Next, I added about 2-3 inches of grass clippings from the lawn to help create a structure layer, so soil doesn’t wash away.
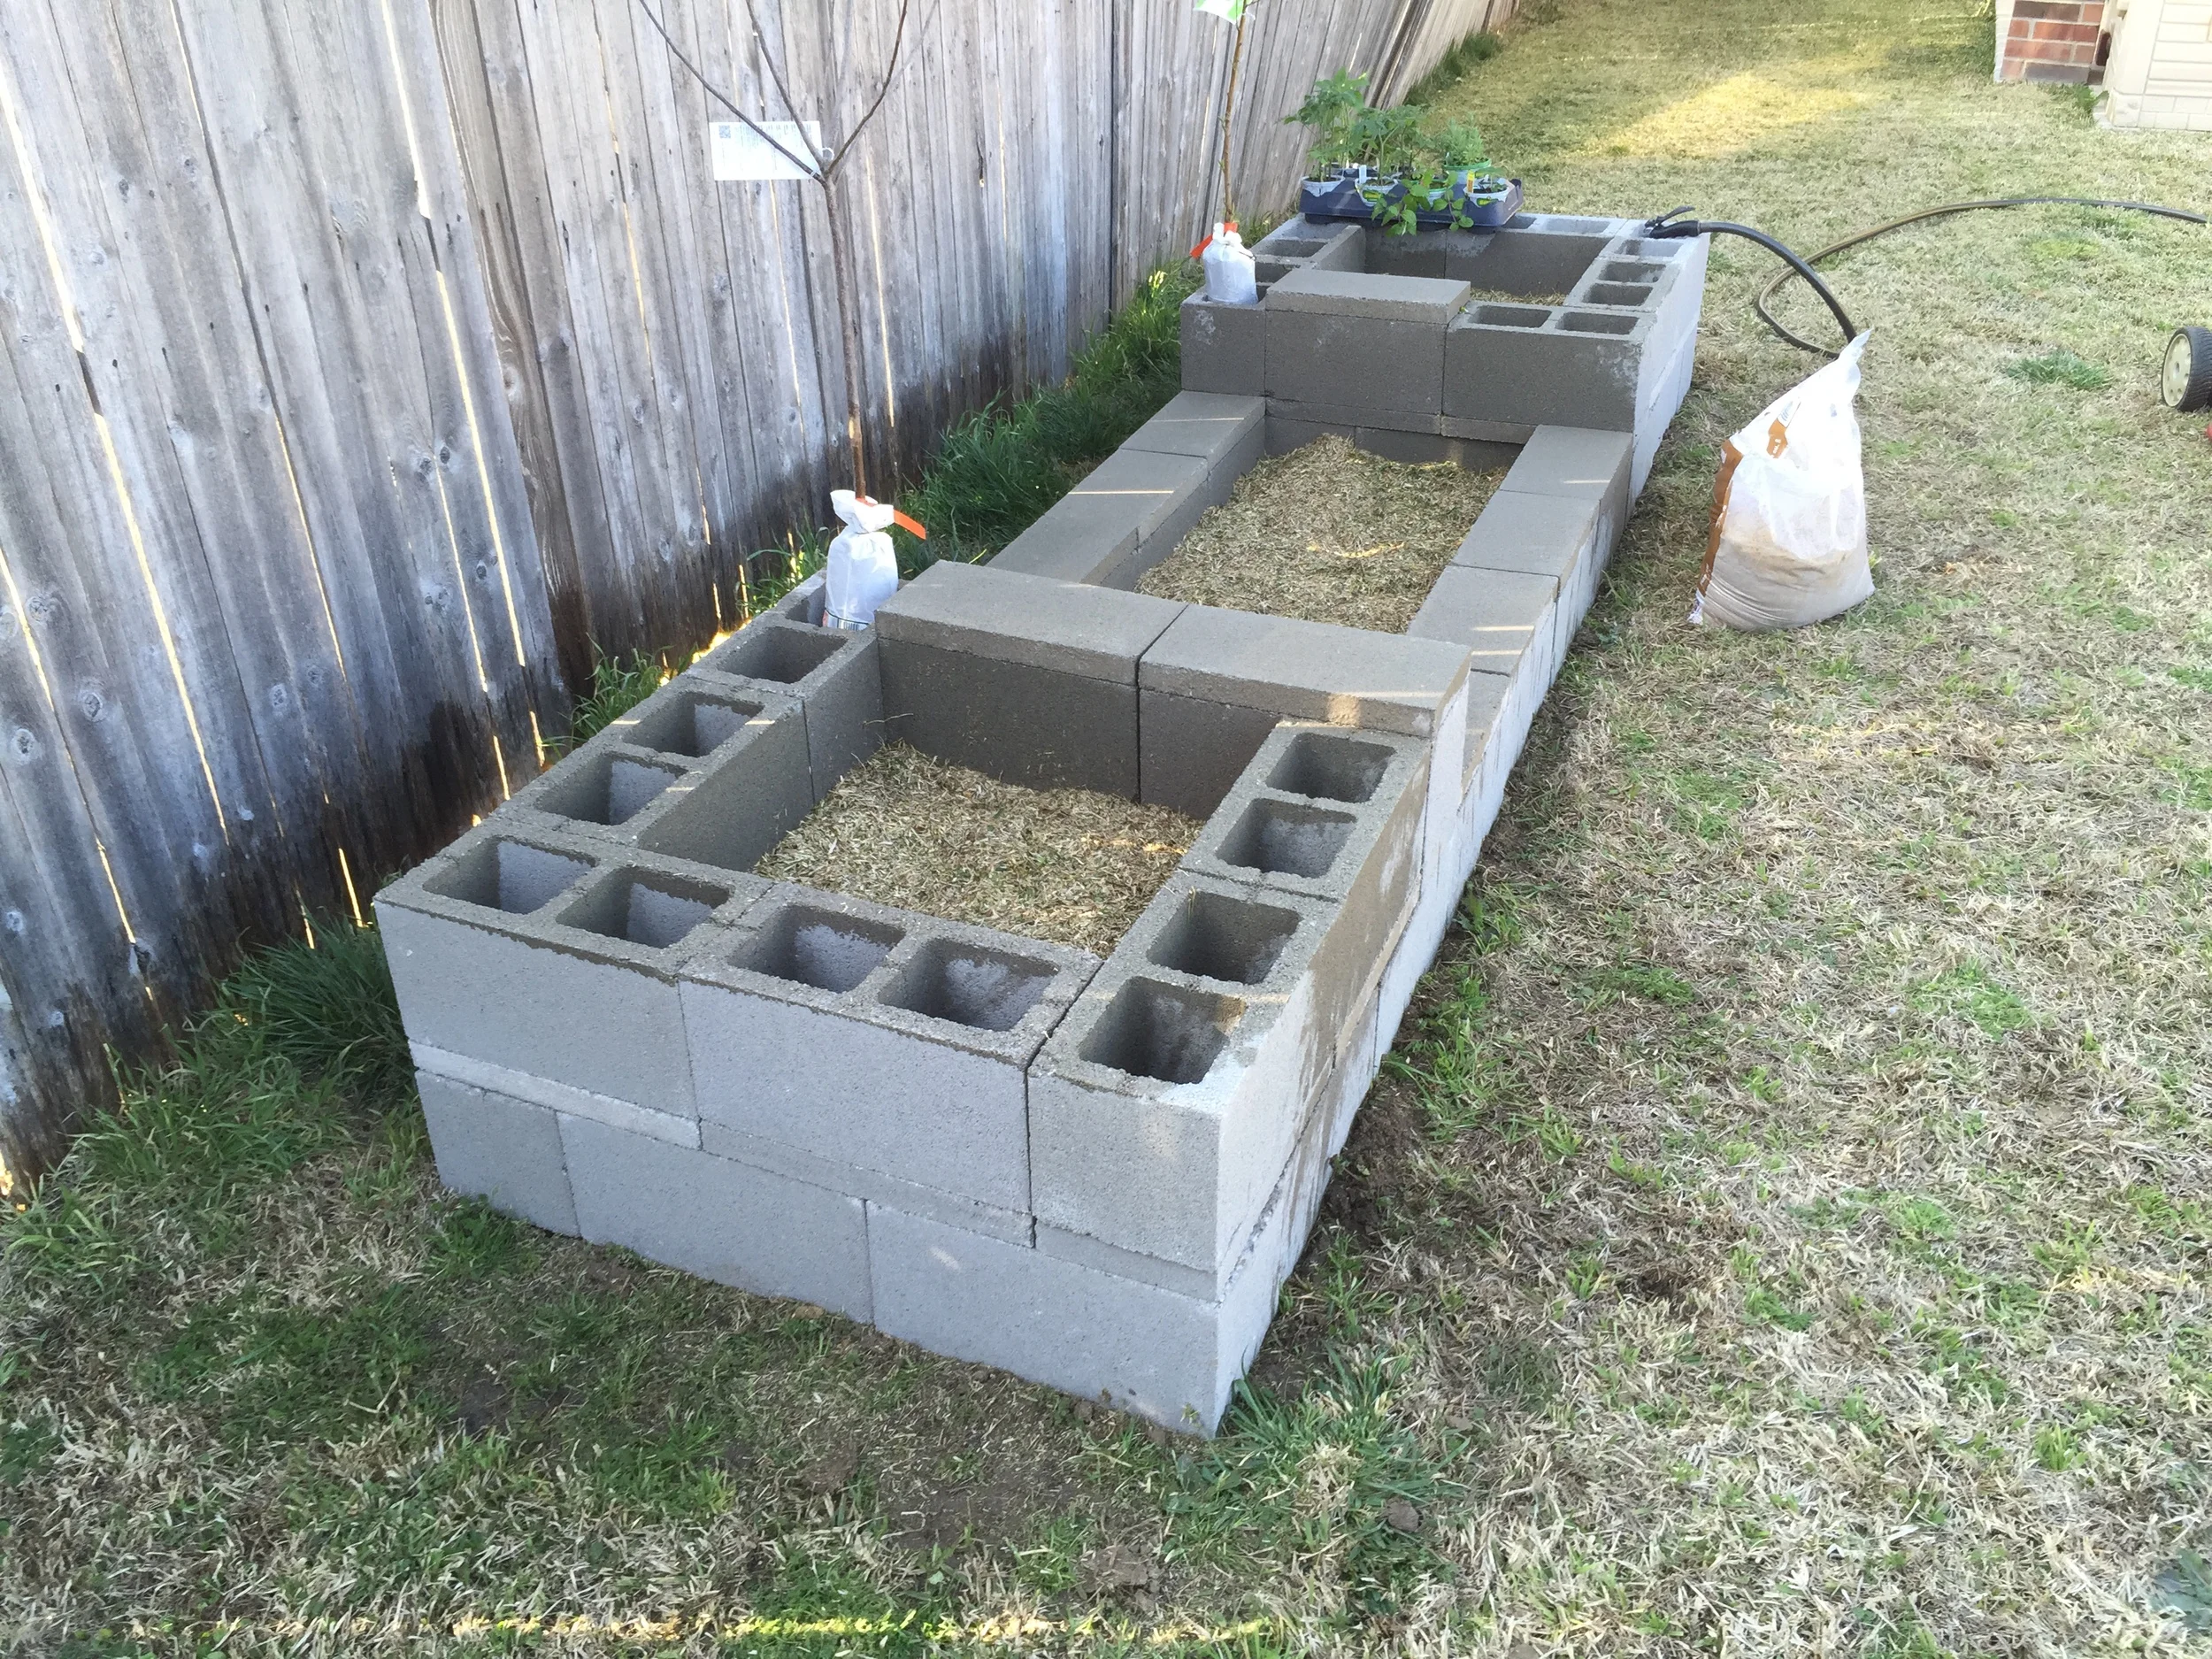
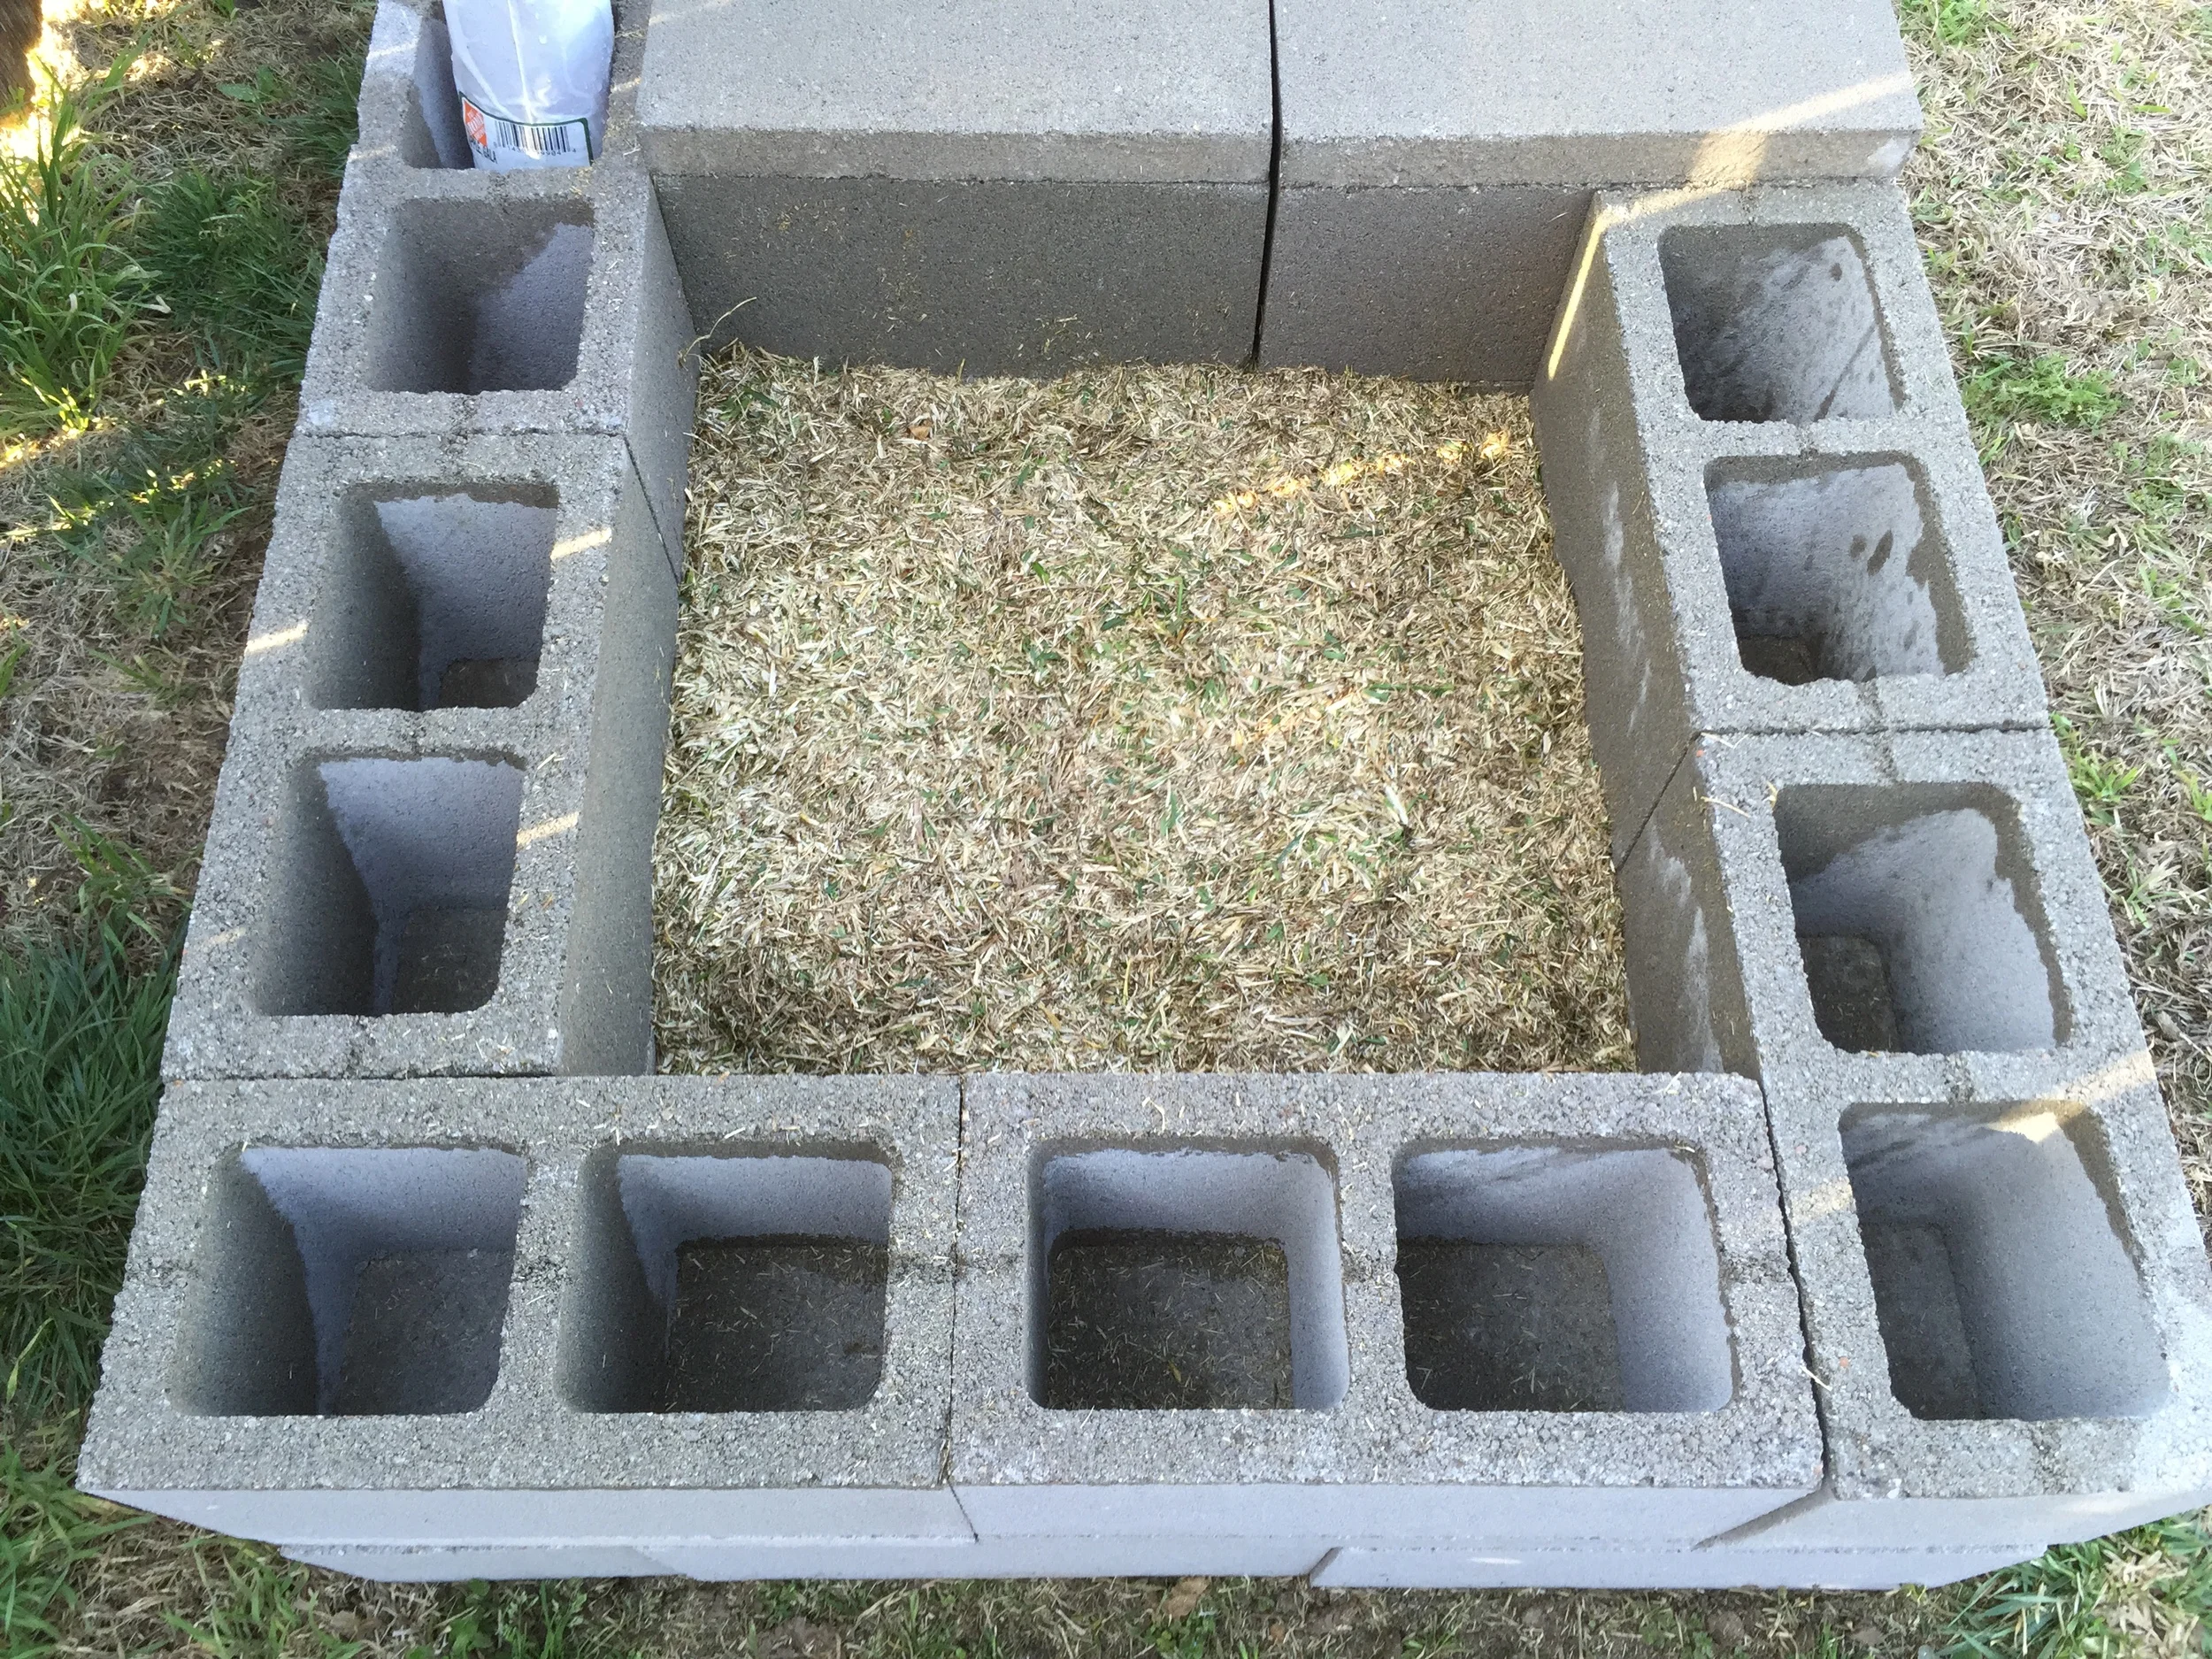

Finally, it was time to add soil! We bought two trees (apple and peach) to plant in the large squares by themselves, so I made sure to accommodate for their size when adding soil.
For our soil, we got a great deal at Costco on Miracle-Gro’s Organic Potting Mix – it took about 4 bags to fill in all the sections and holes.
There were so many choices for plants, so we went with a variety of tomatoes, strawberries, herbs, peppers, and other goodies! We even planted lima beans with the trees.
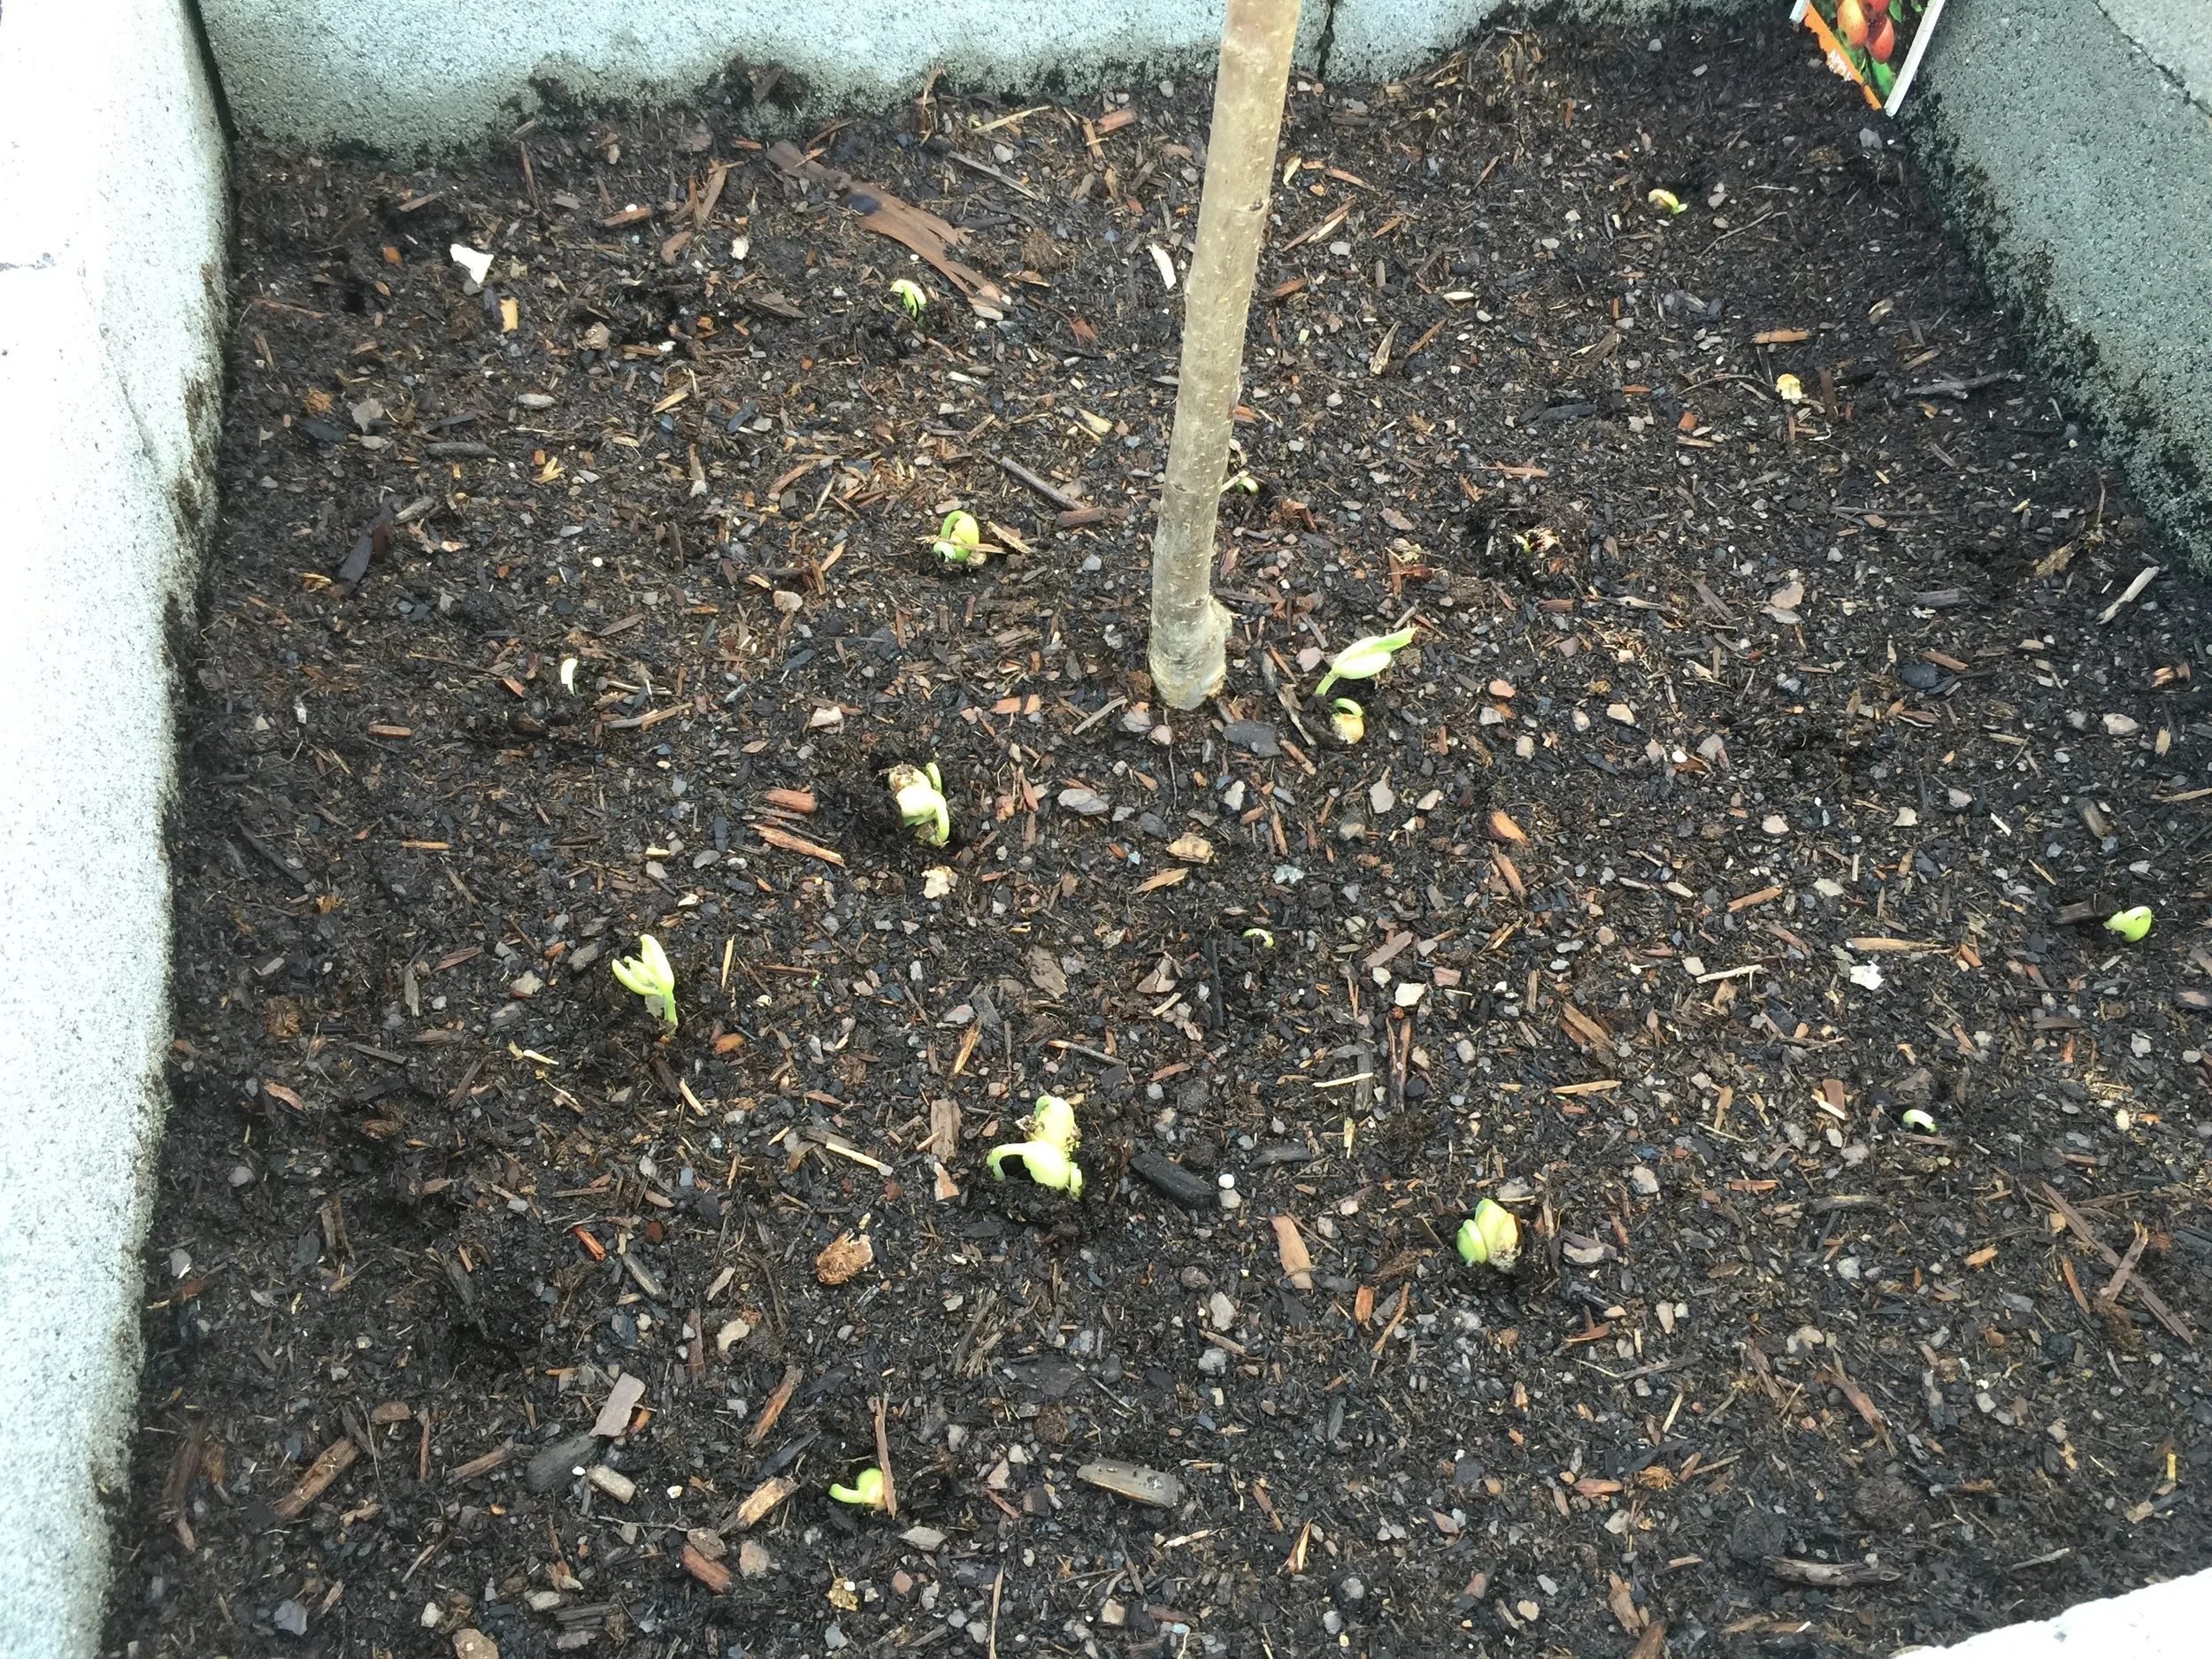
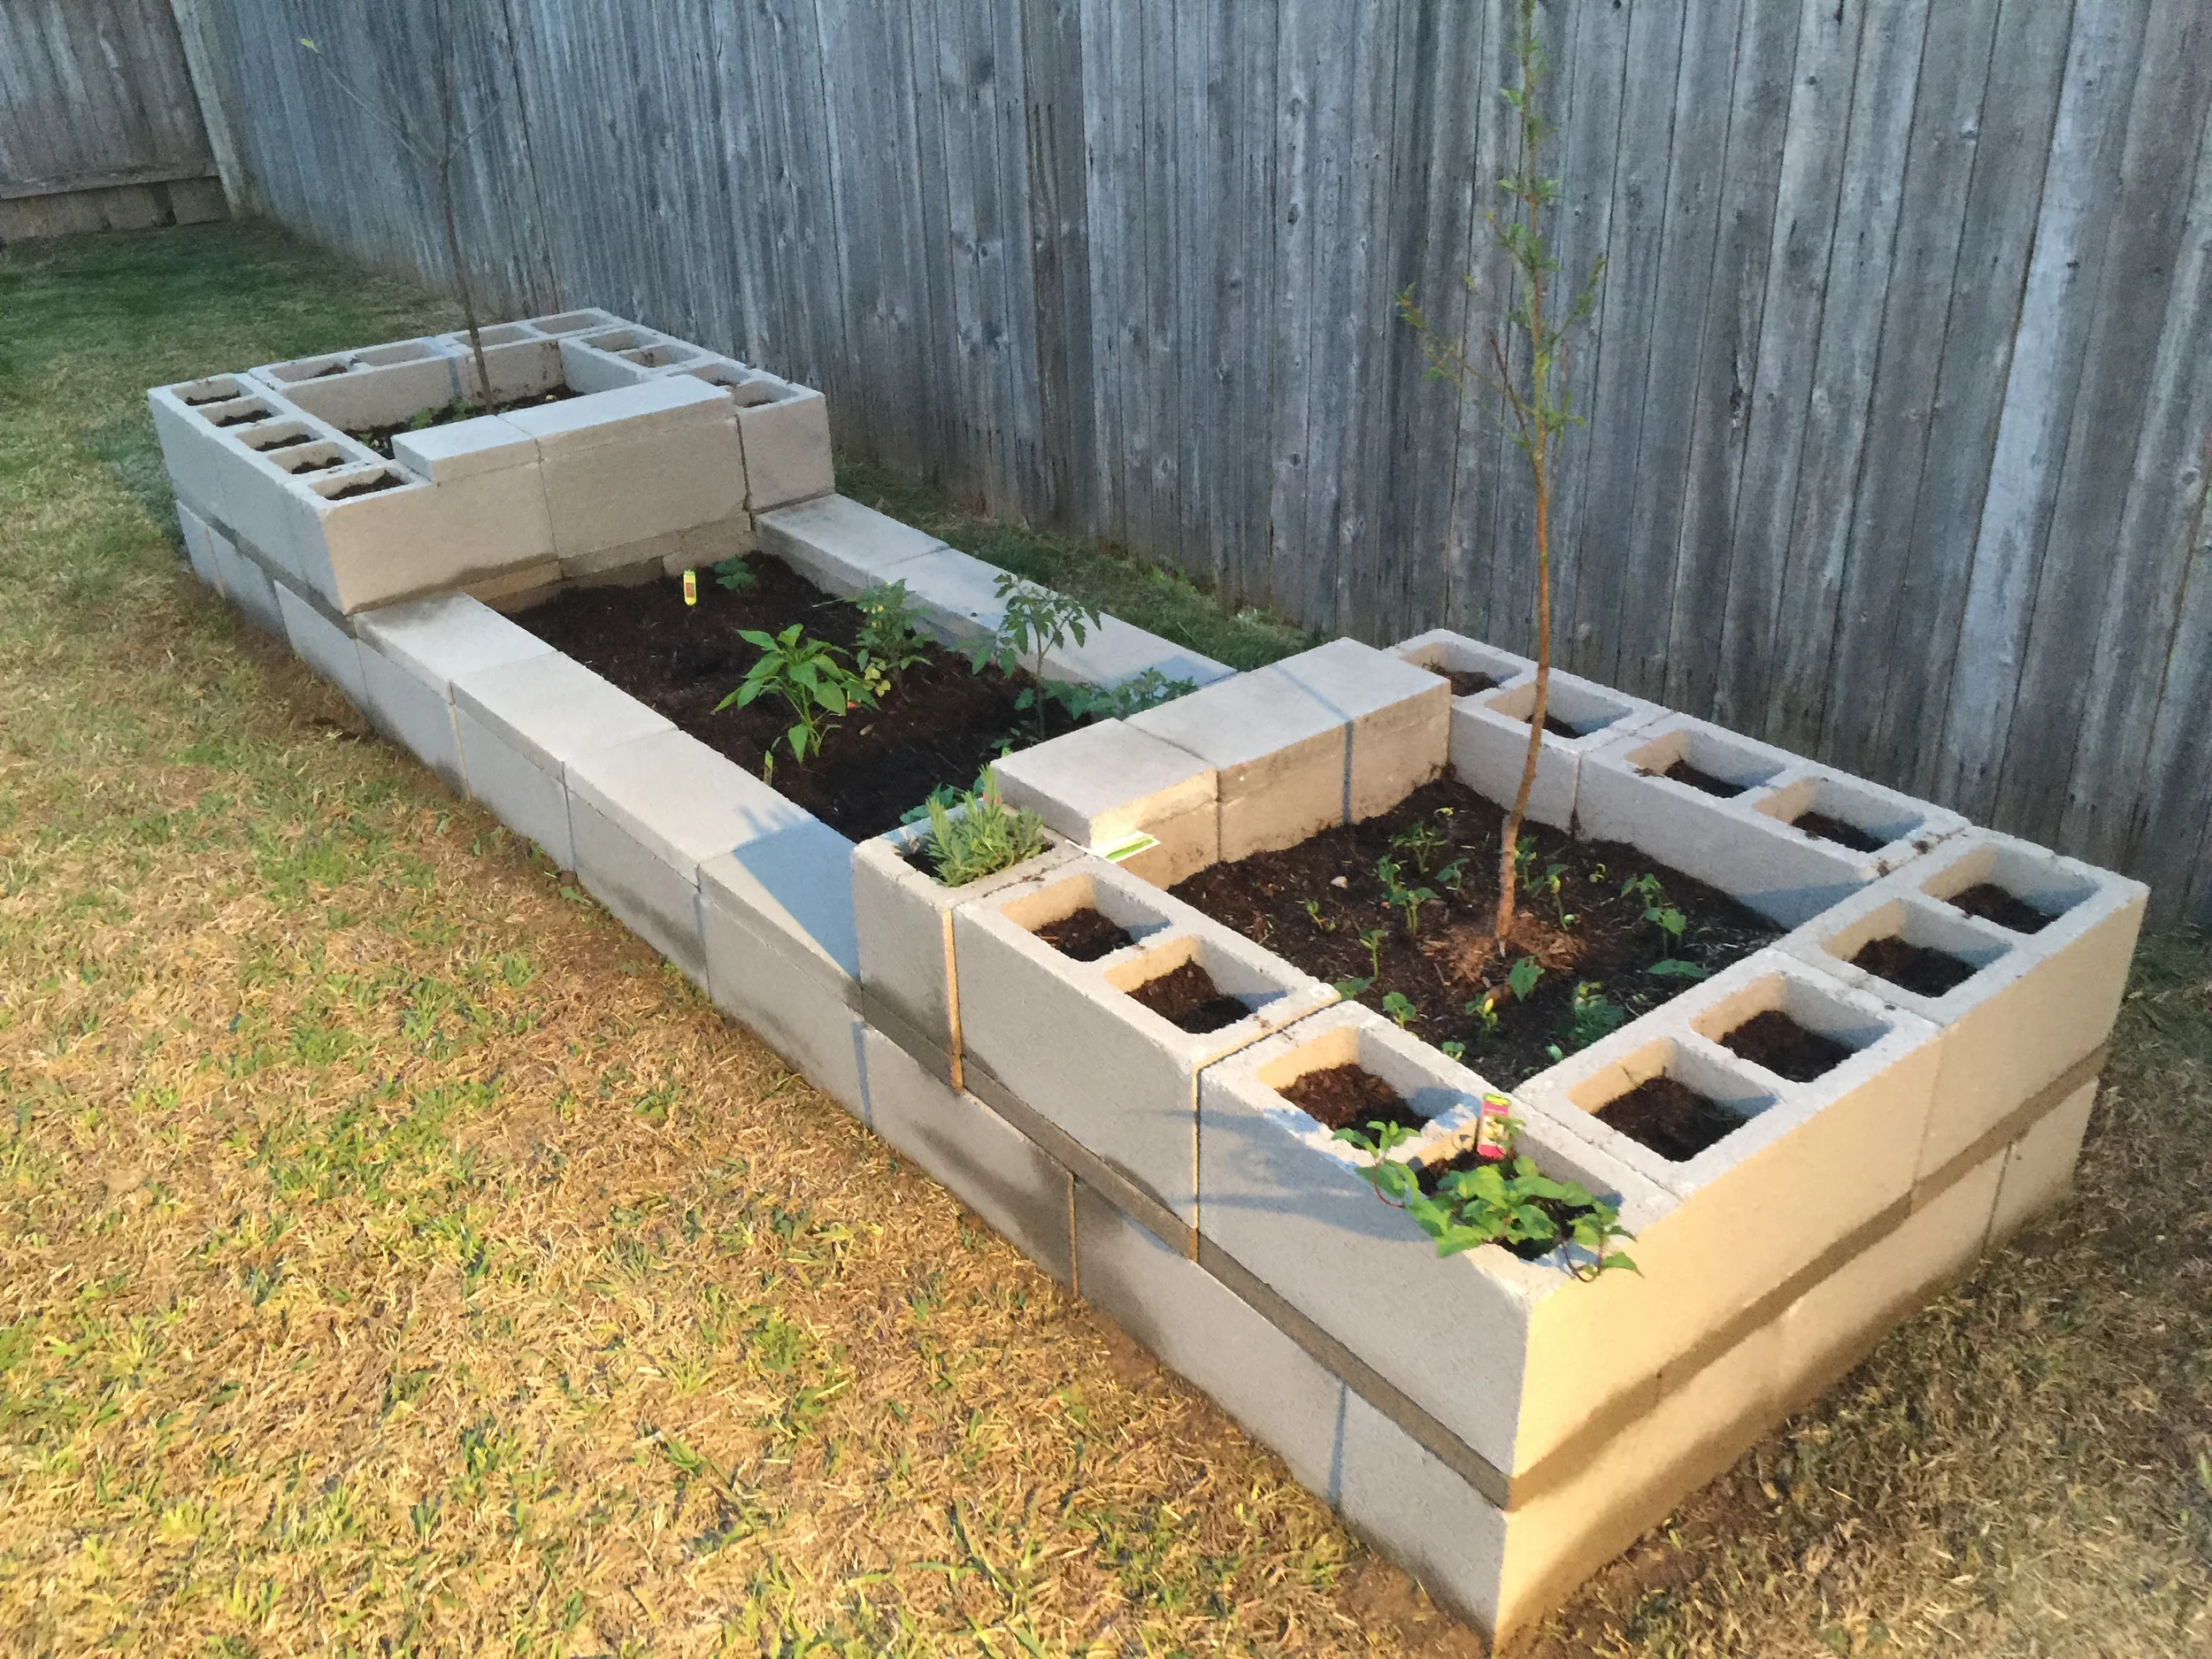
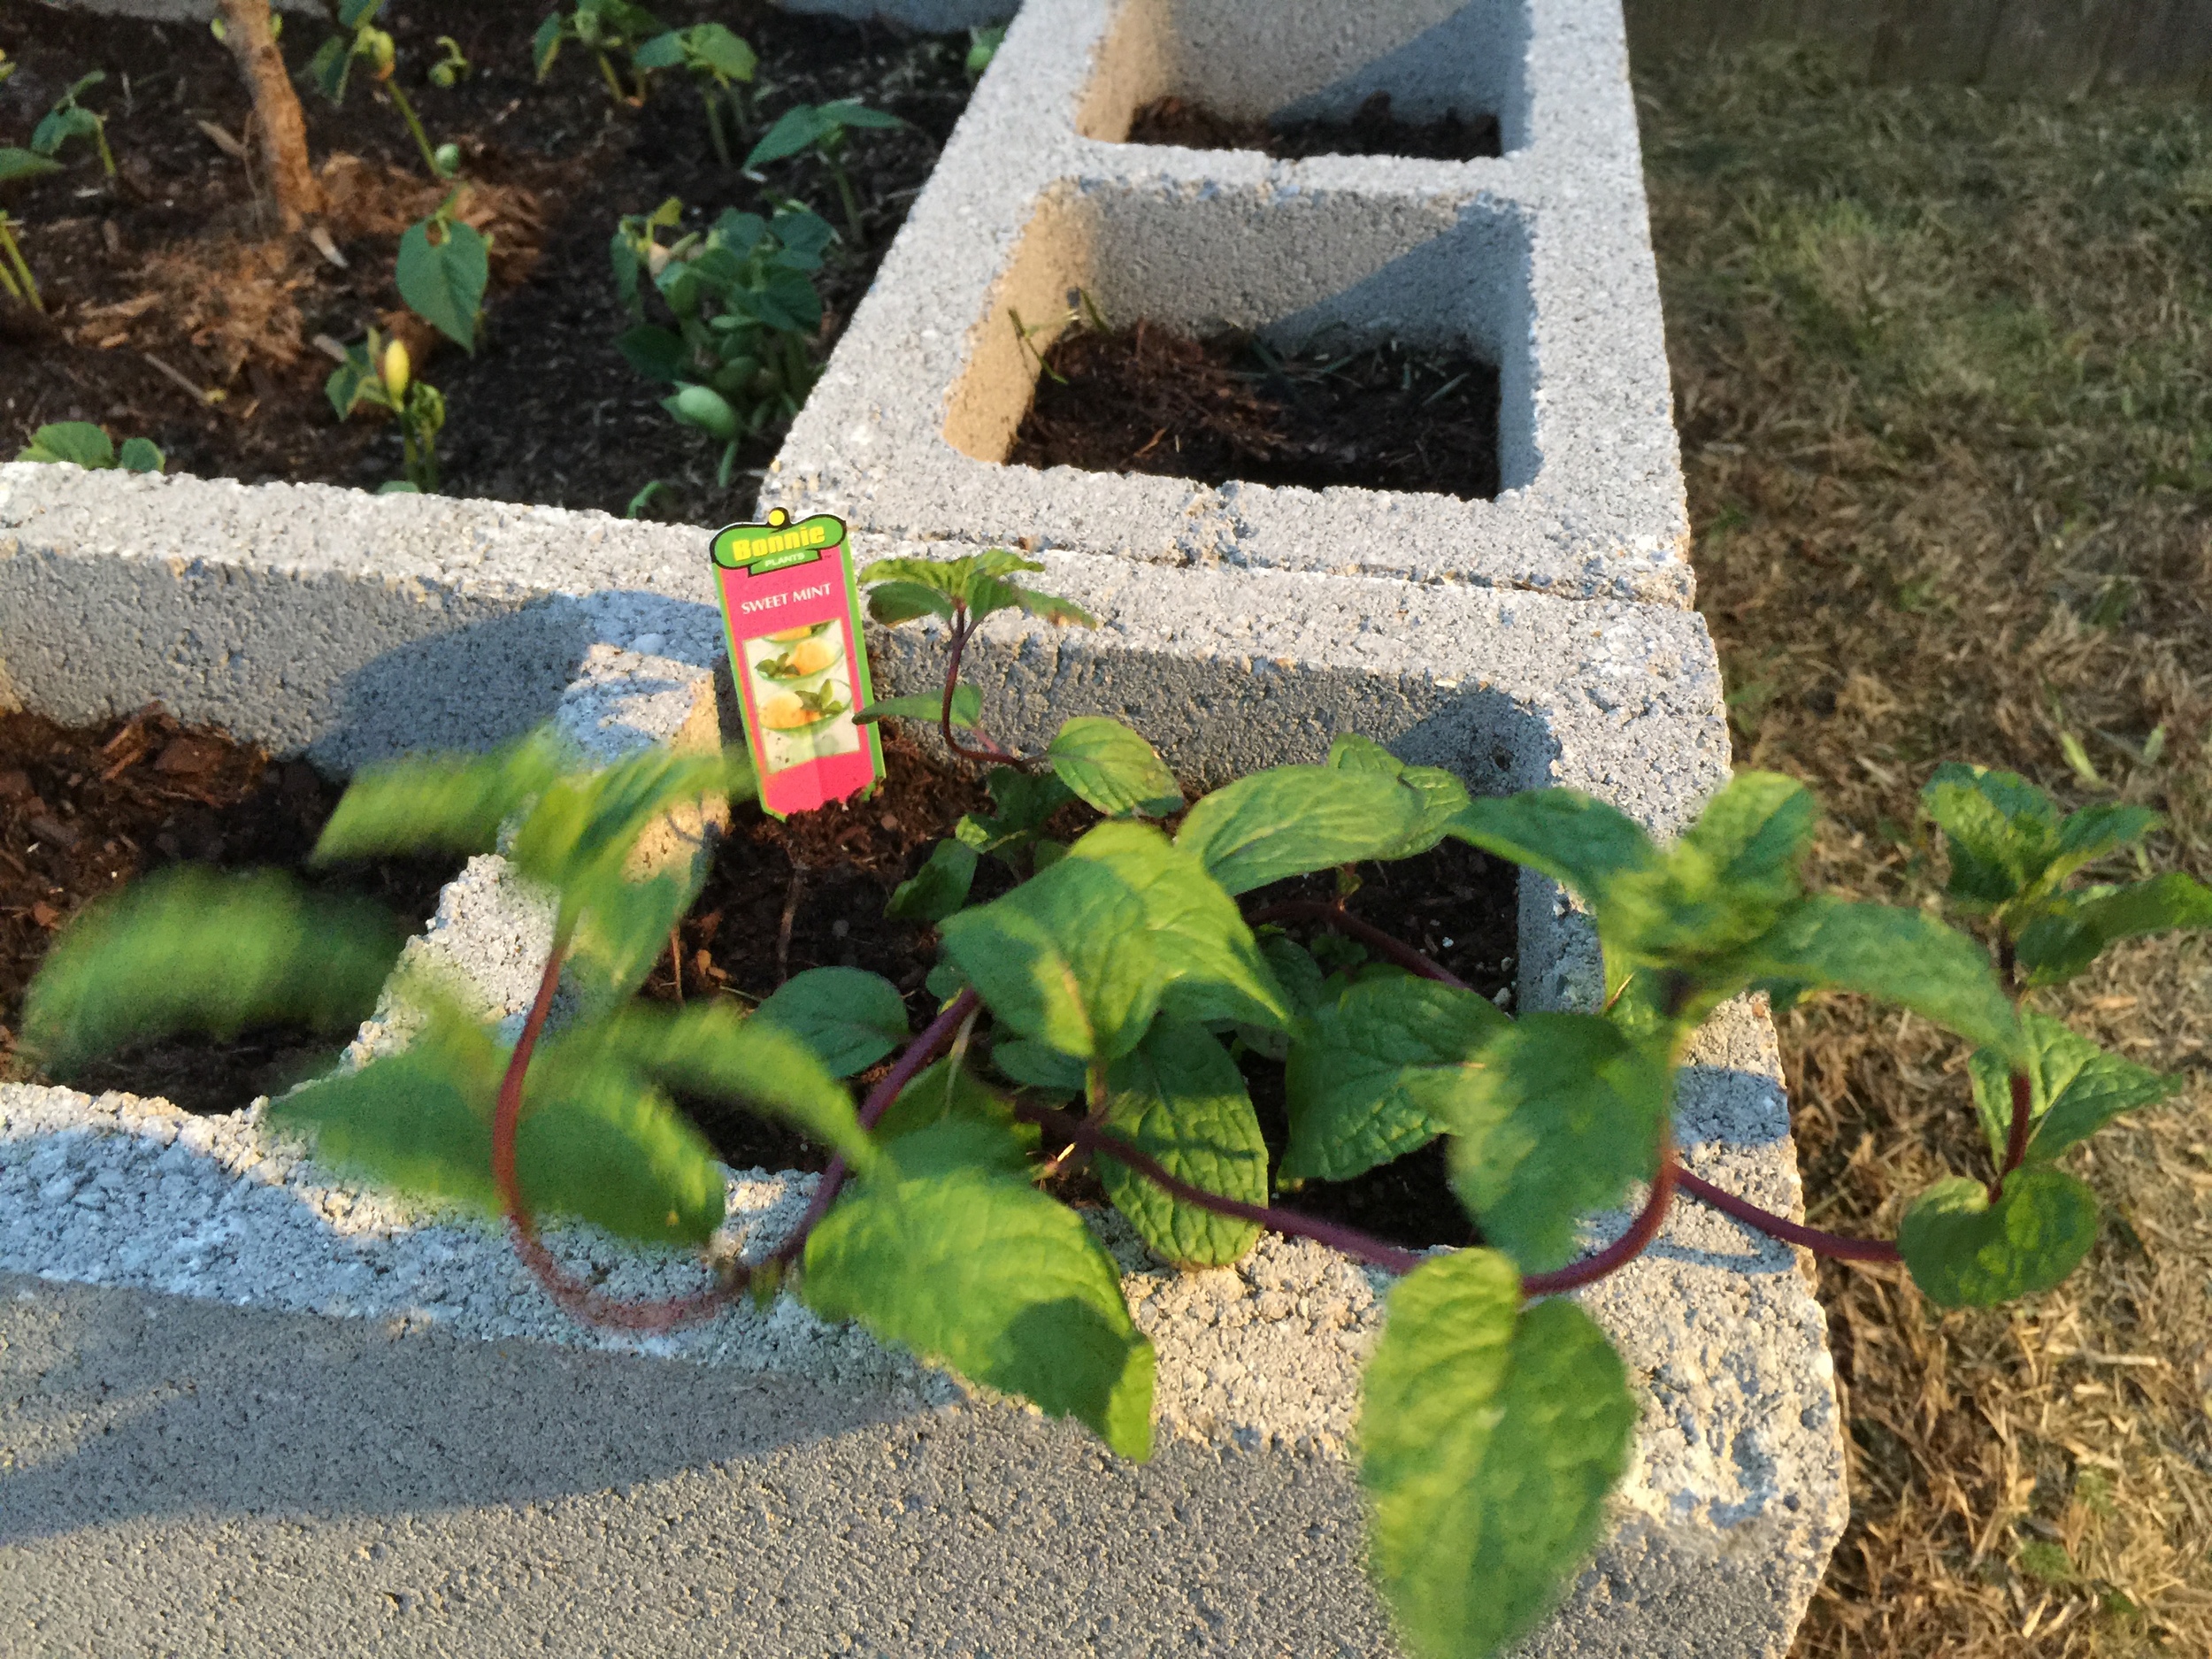
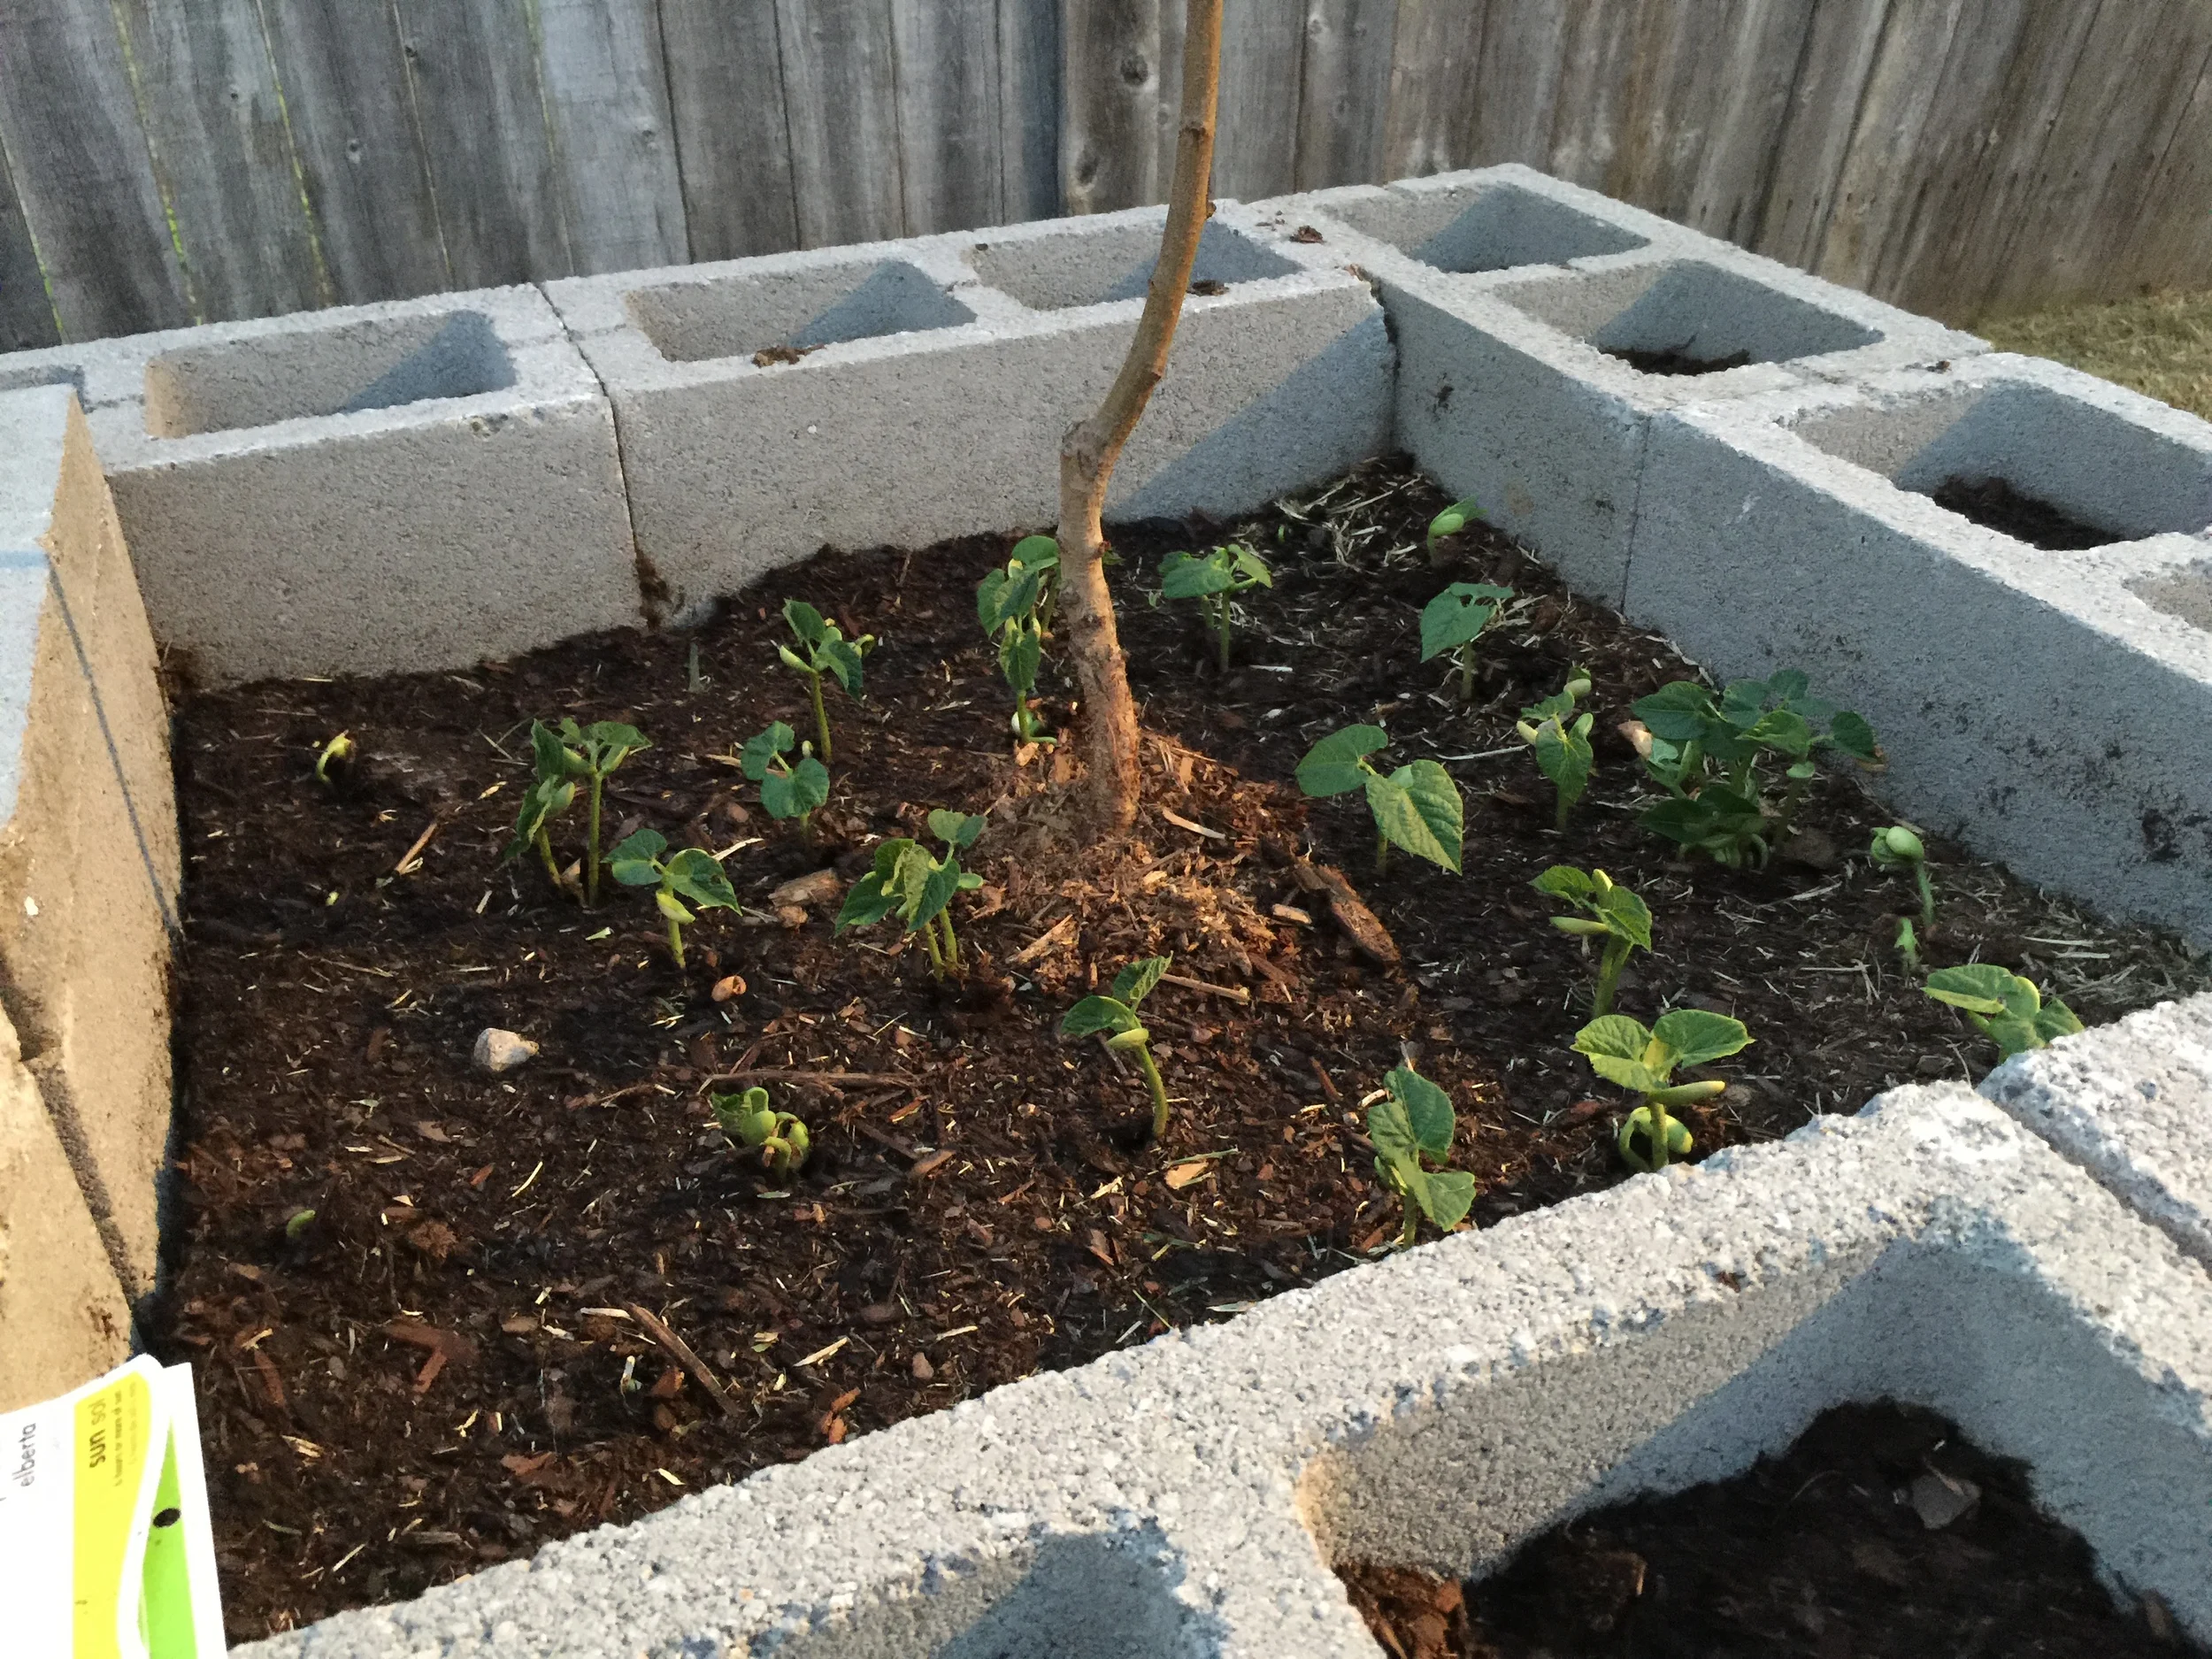
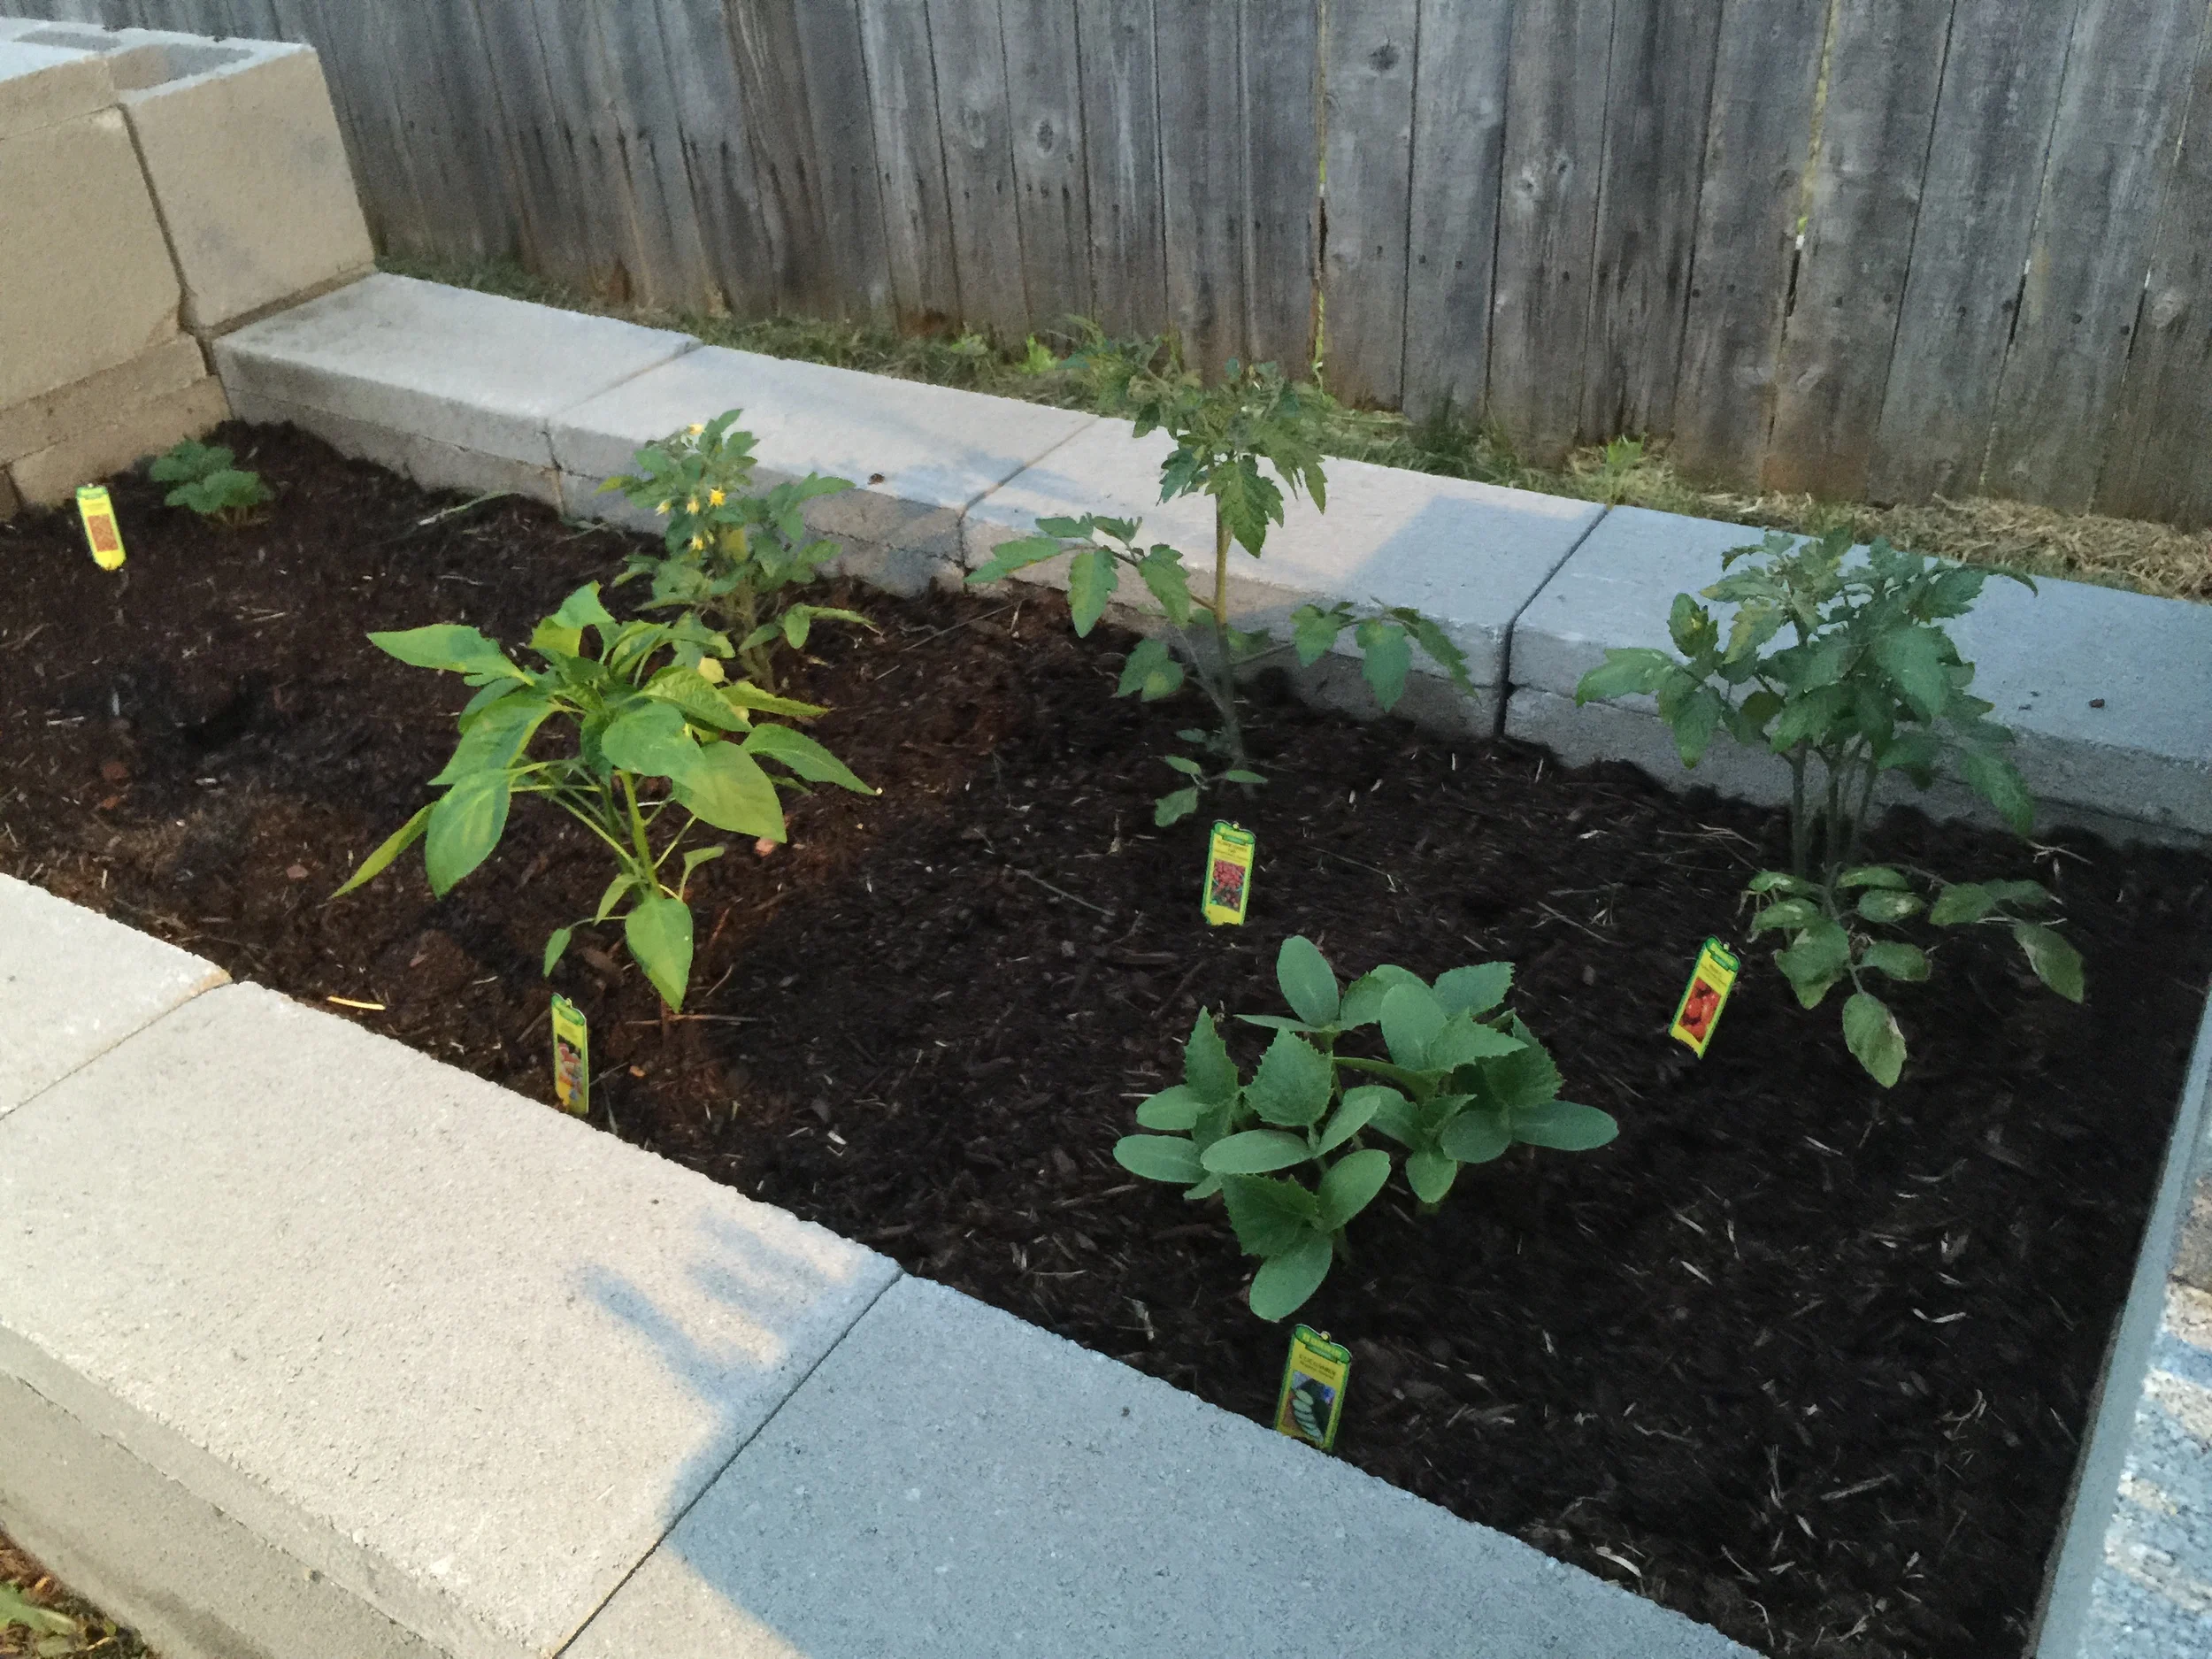
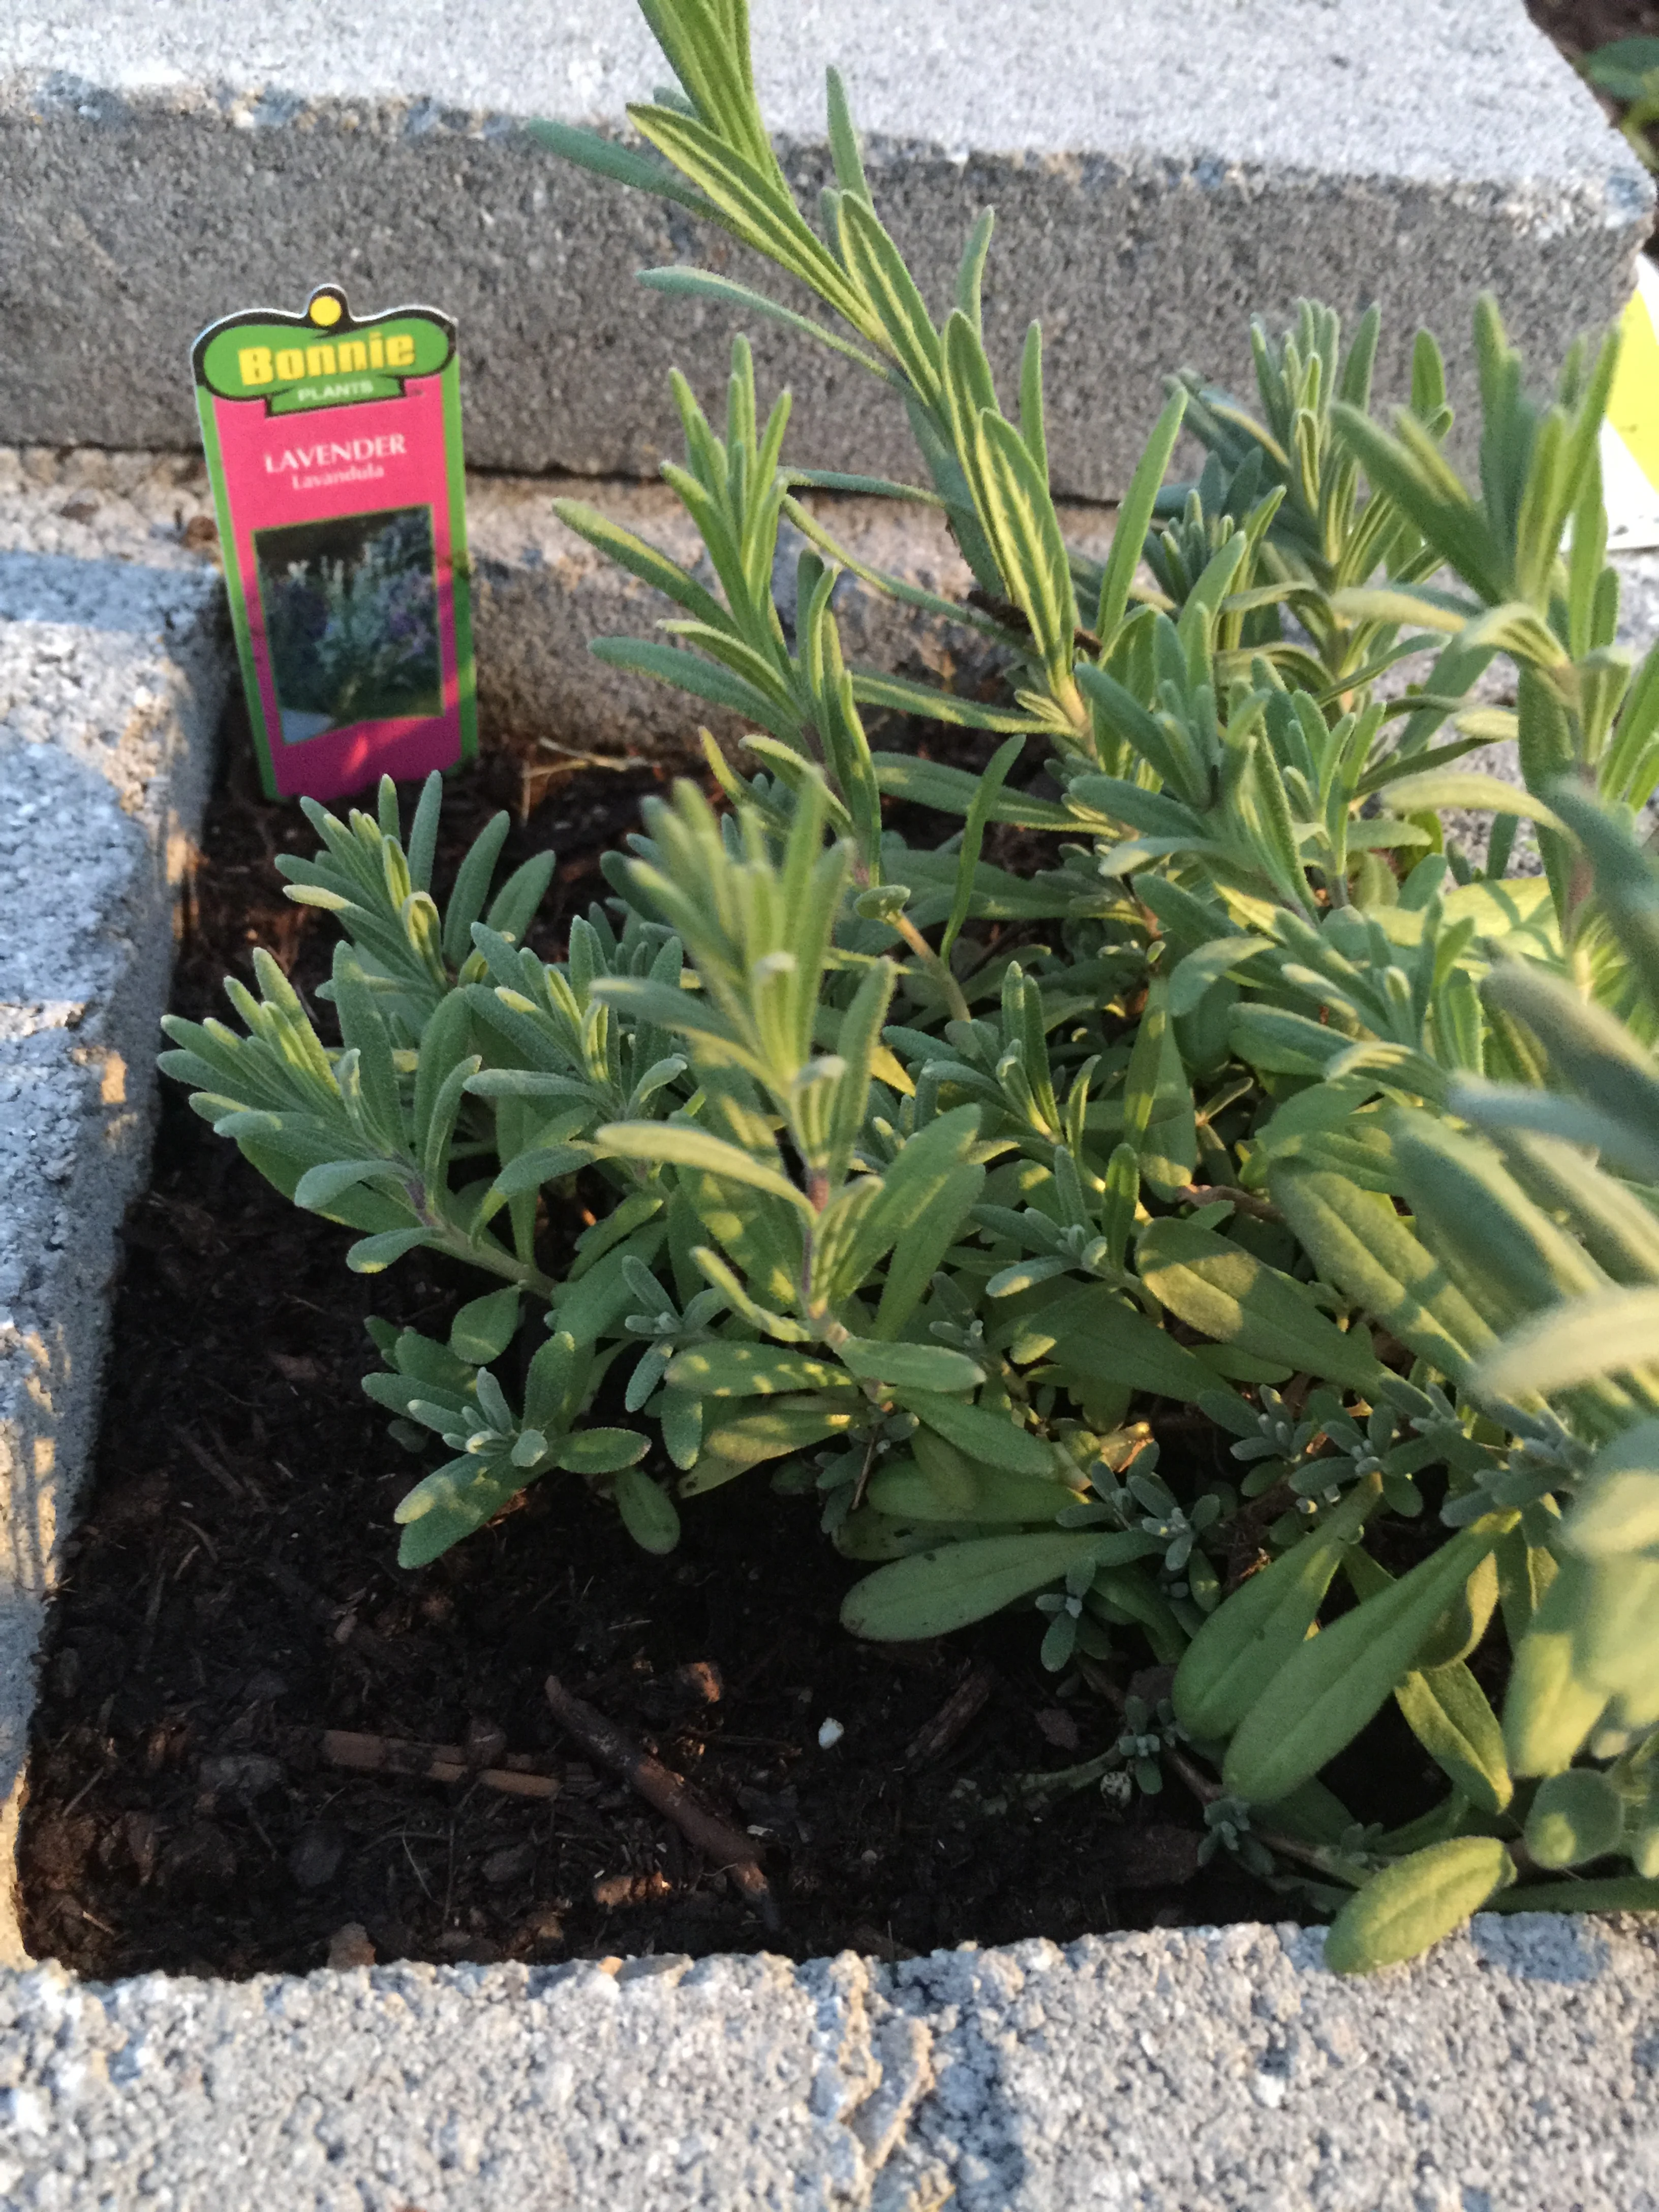
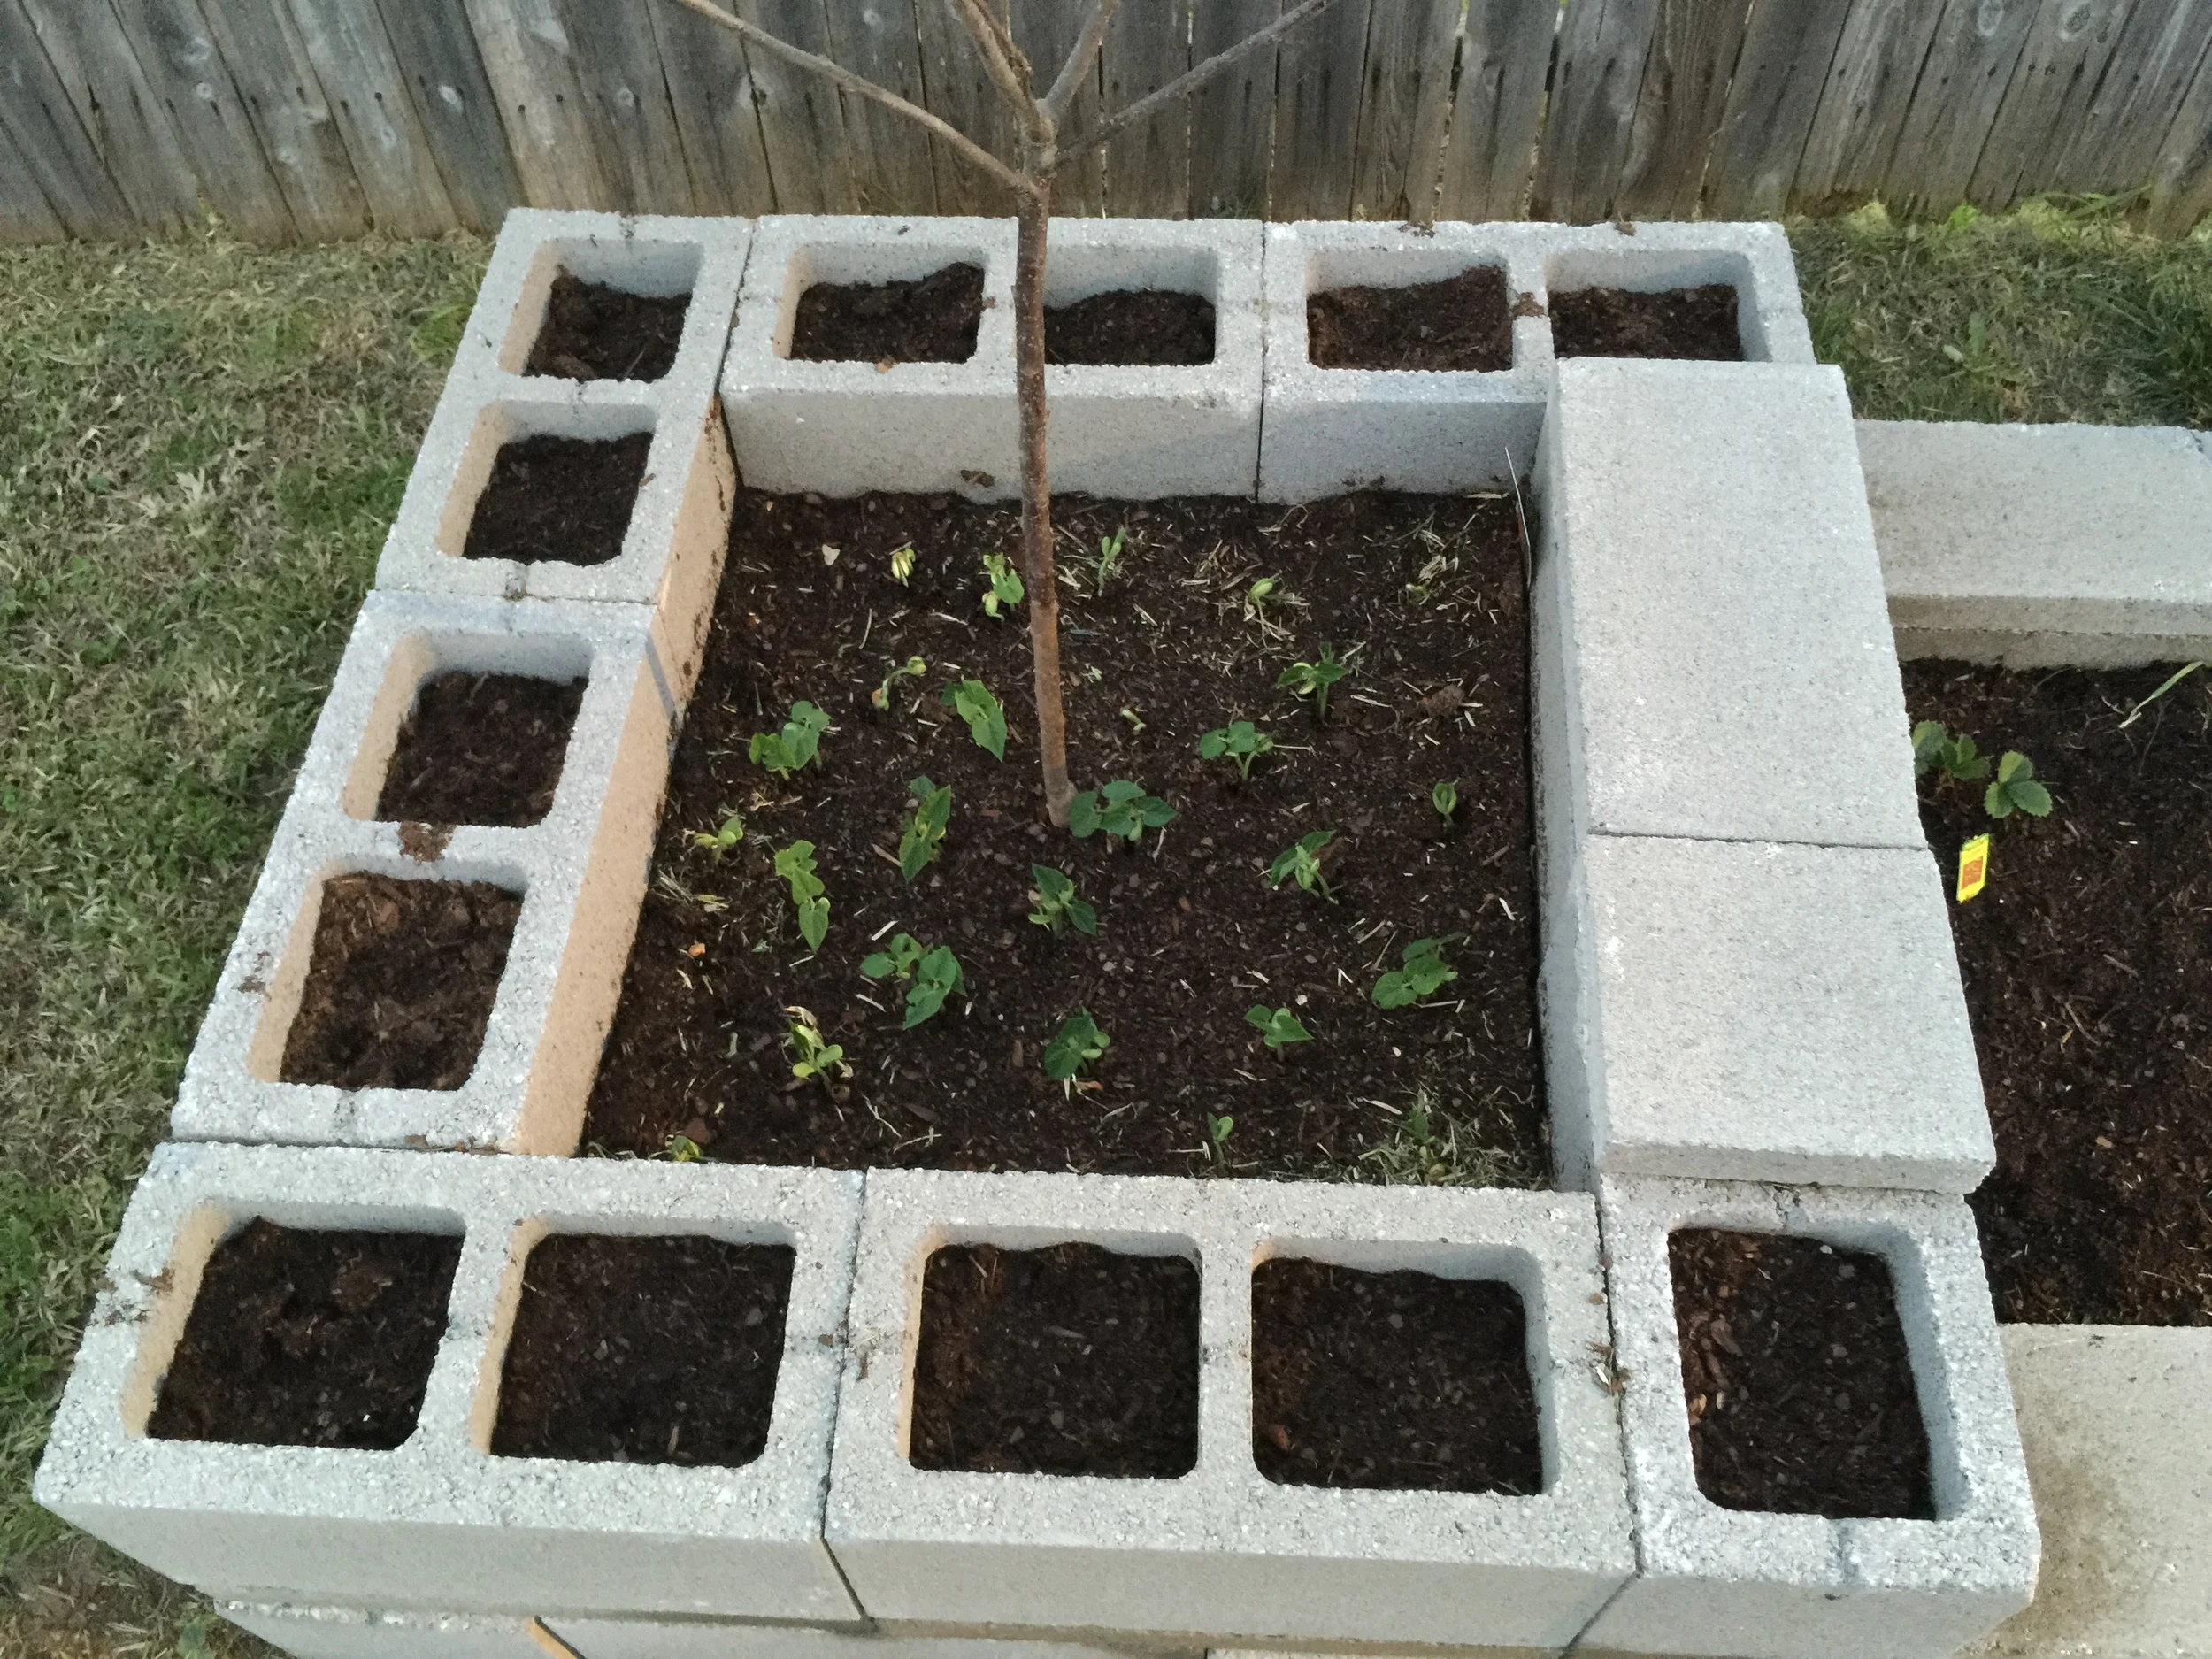
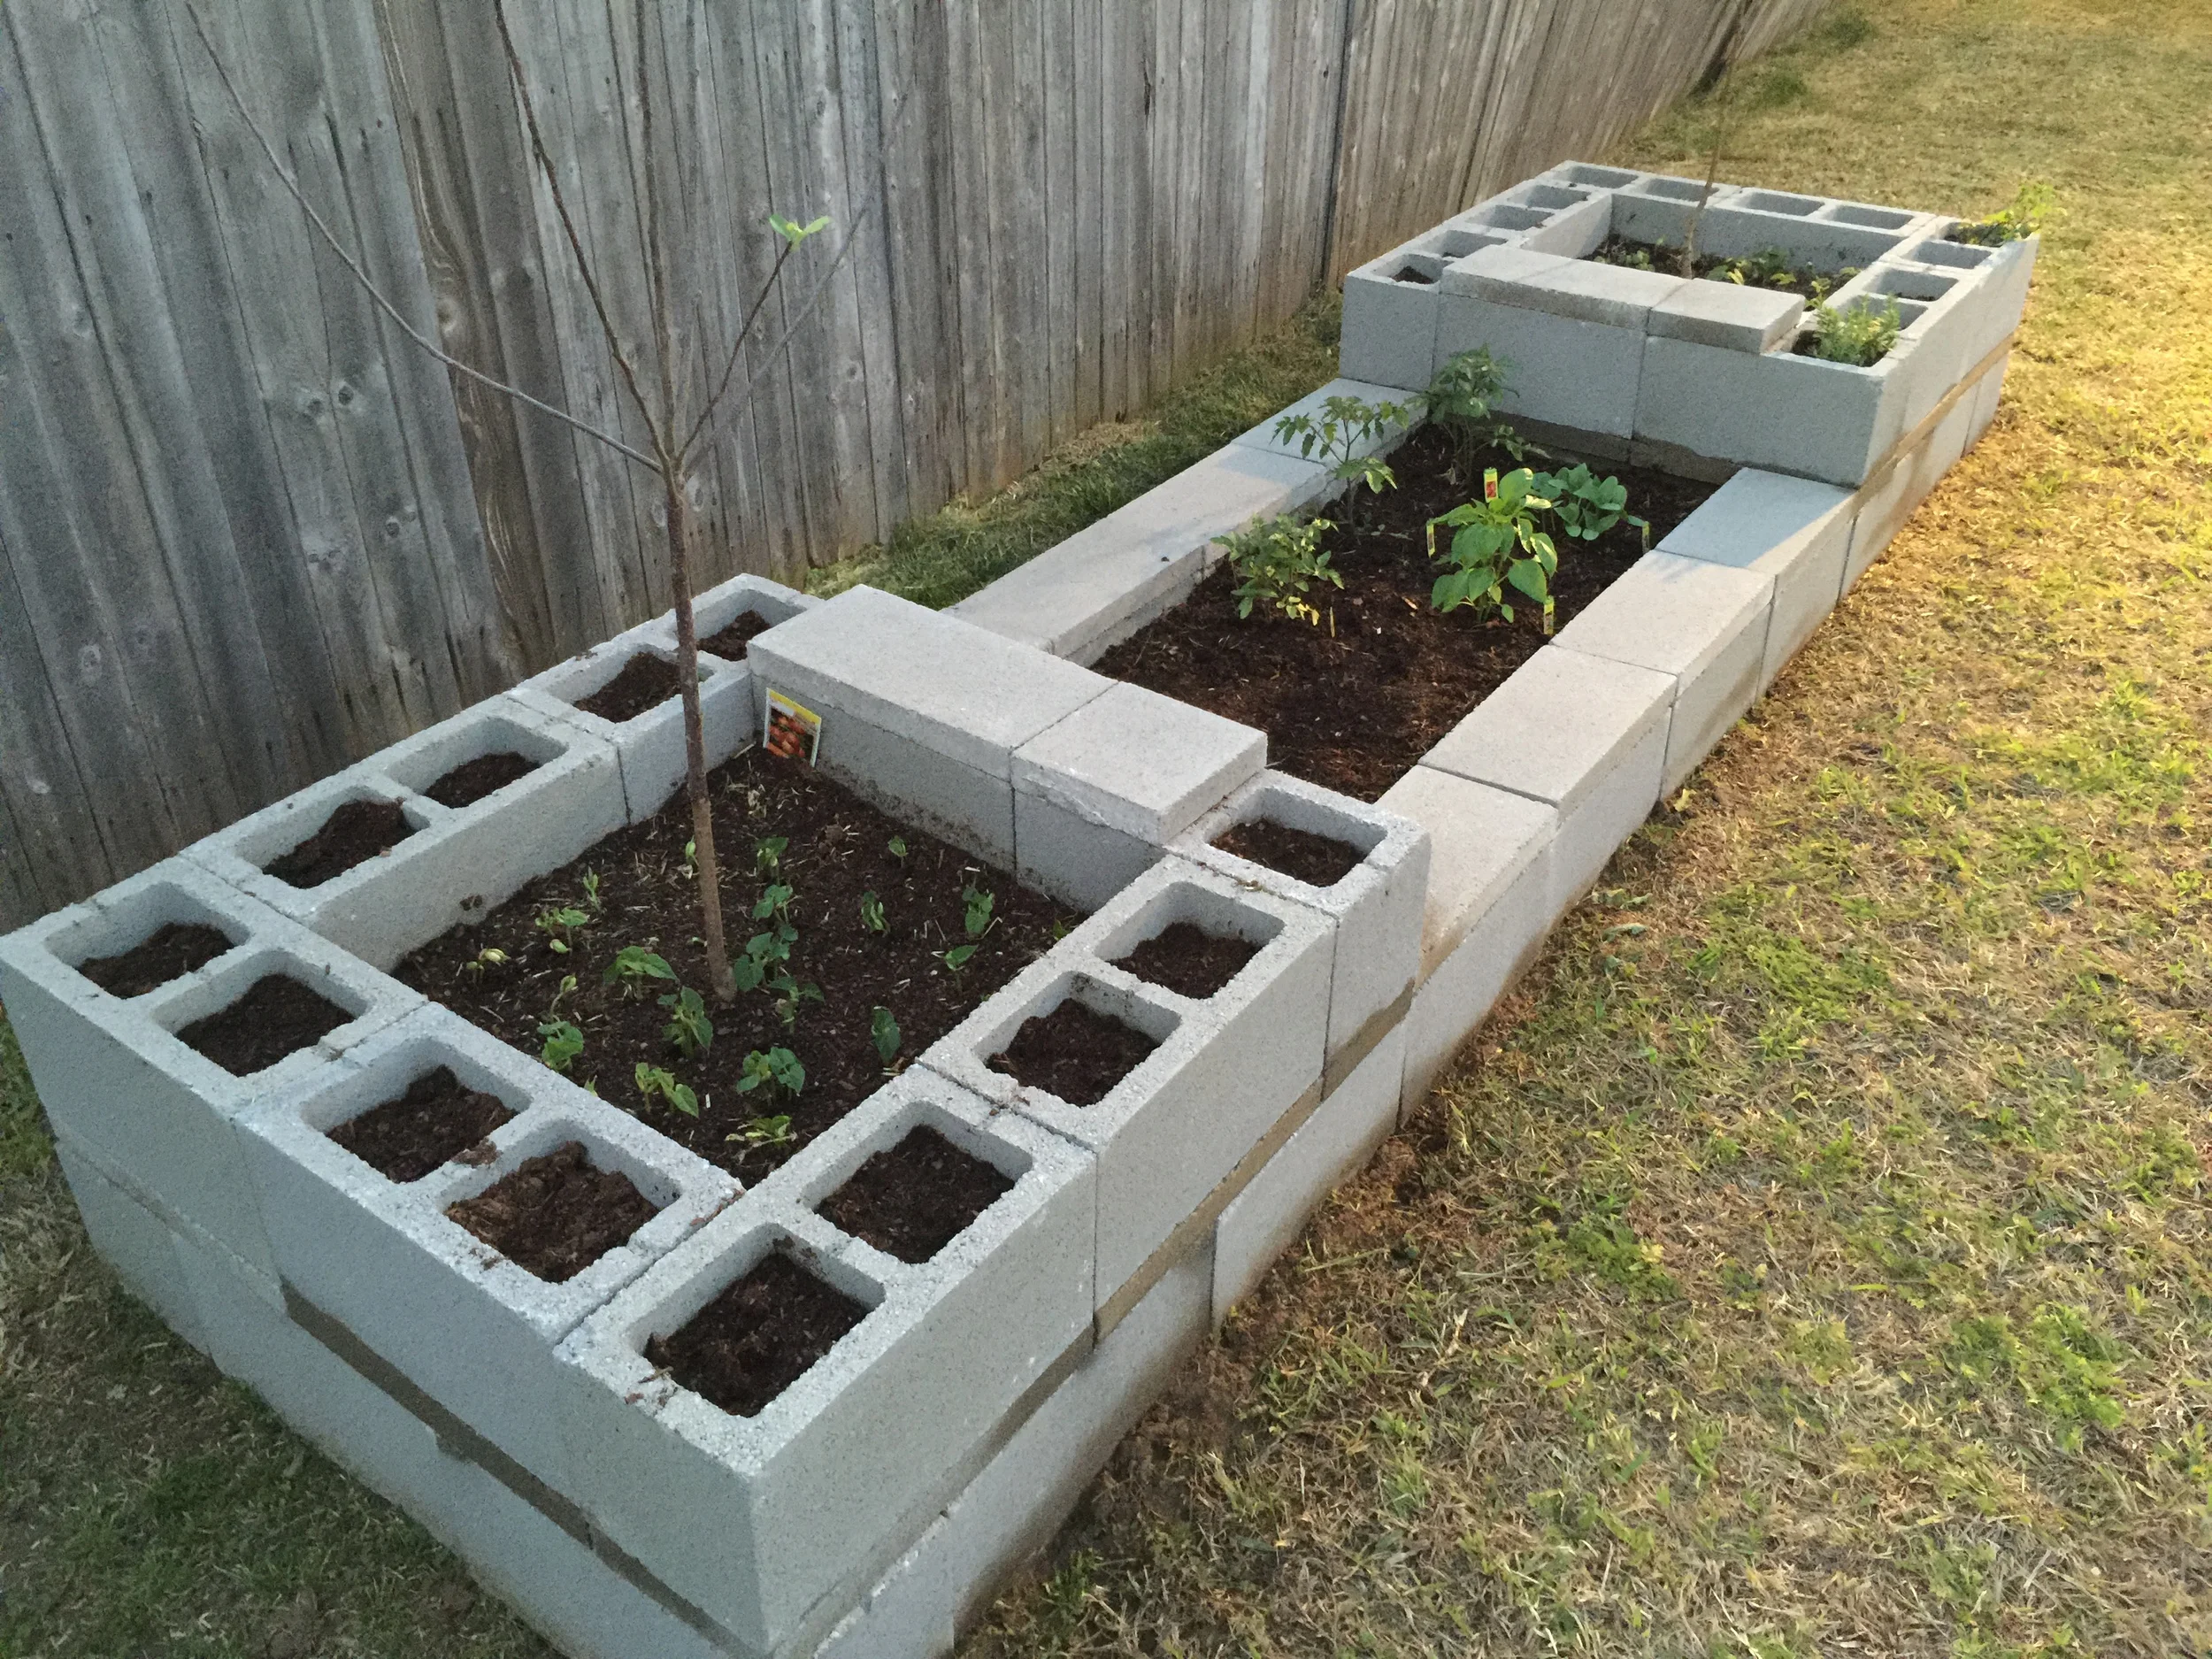
We left a lot of the holes empty for future plants and some seedlings that we’re working on.
~david


