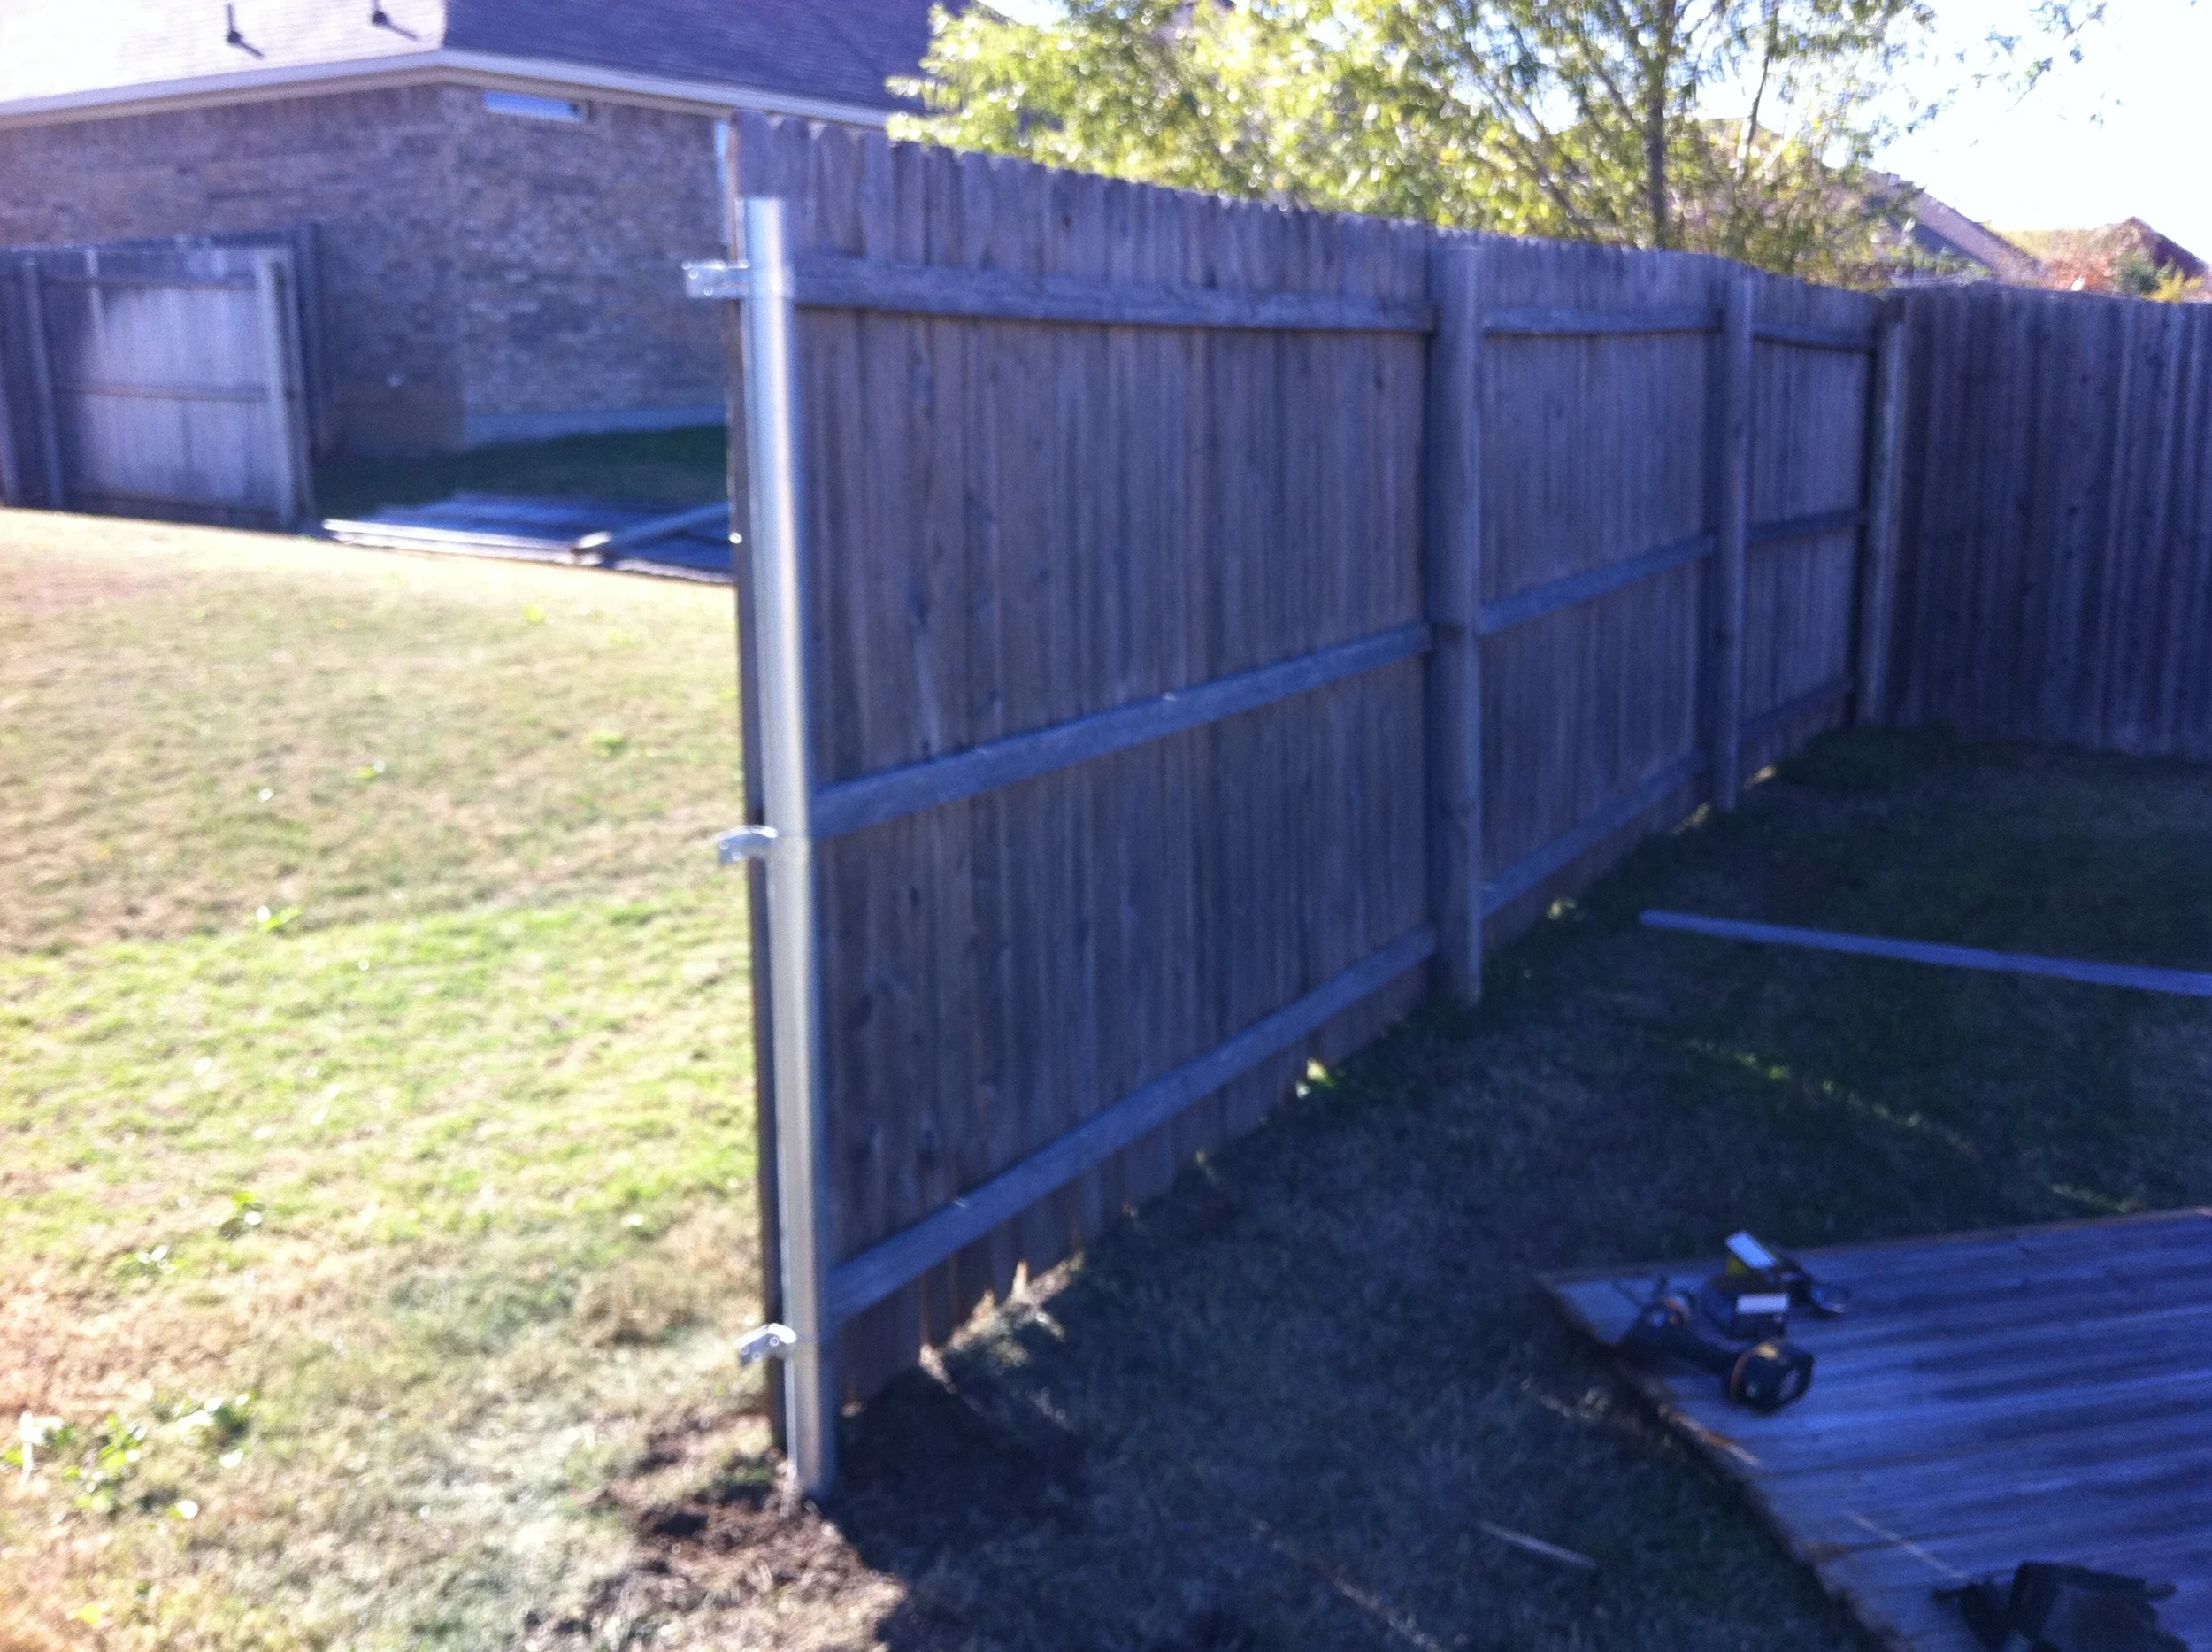
replacing fence posts
Here is what happens after a strong Texas thunderstorm. (I cleaned up and moved some things around partially). Luckily, the 3 fence panels were fine - the wind just destroyed the posts. At ground level the wooden posts had rotted away and snapped like twigs.
Builders use wooden posts as a cheap alternative when they’re constructing neighborhoods en masse. There’s a huge savings, but wood posts rot within 8-10 years depending on weather, humidity, and your watering schedule. I contacted a fence repair company, and they quoted me $40 per post to remove and replace with metal posts – not bad, but I knew there were some savings to be had if I did it myself.
After discussing with my neighbor, which I highly recommend before proceeding with any project, we agreed to split the cost 50/50. We also decided that a better alternative to wood posts would be metal posts, since wood seems to rot so quickly.
After a little more cleanup I headed out to Home Depot to purchase the materials. For this project I needed to purchase:
- 2 - 8-foot metal fence posts - $9 each
- 2 - Post caps - $1 each
- 6 - Pipe grip supports - $1 each
- 2 - 80lb bags of concrete - $4 each
- 1 - Box of wood screws - $8
(~$20 per post total)
And you’ll also need the following tools:
- Shovel (sharpshooter/post-hole digger preferred)
- Screw-gun
- Hammer
- Bubble level (magnetic preferred)
- Water hose
- Wheelbarrow (recommended but not required)
For the old posts and concrete in the ground I used a sharpshooter shovel to remove a few inches of dirt around all sides. I got about two feet into the ground before I could move the old posts around enough to loosen them. By regulation the posts were 2 feet deep – so keep digging!
Before moving forward, I placed a post right next to one of the fence panels, and capped it. I didn't want the metal post to stick up past the wooden panels once installed, so I marked the post where it needed to level up with the ground. Luckily, the previous holes were deep enough already – 2 feet in and 6 feet out.
Next, in order to keep my tools clean, I placed the posts in the holes and began pouring concrete and water in small amounts, while mixing them with a scrap piece of wood I had laying around. I made sure to keep the posts level throughout the entire process, and re-verified later that day after some hardening had occurred.
Next afternoon, I checked to see if the concrete was close to drying. It was far enough along to go ahead and continue, so I filled the remainder of the holes with some of the residual dirt, until it was up to ground level.
On the home stretch, I began propping the panels back up to secure them in place. Where there were still wooden posts on the outsides I was able to use the old nails still attached to the panels.
For attachment to the metal posts, I slid the pipe grips down and fastened them to the three locations that lined up with the fence panel supports. Following adequate attachment of the panels, I topped the metal posts with the caps.
For the final cosmetic finishes, I traveled to my neighbor's yard to attach the picket covers. Aside from cleanup, this completed my project. A sturdy metal post, with a solid concrete foundation will last a lifetime.
~david


